
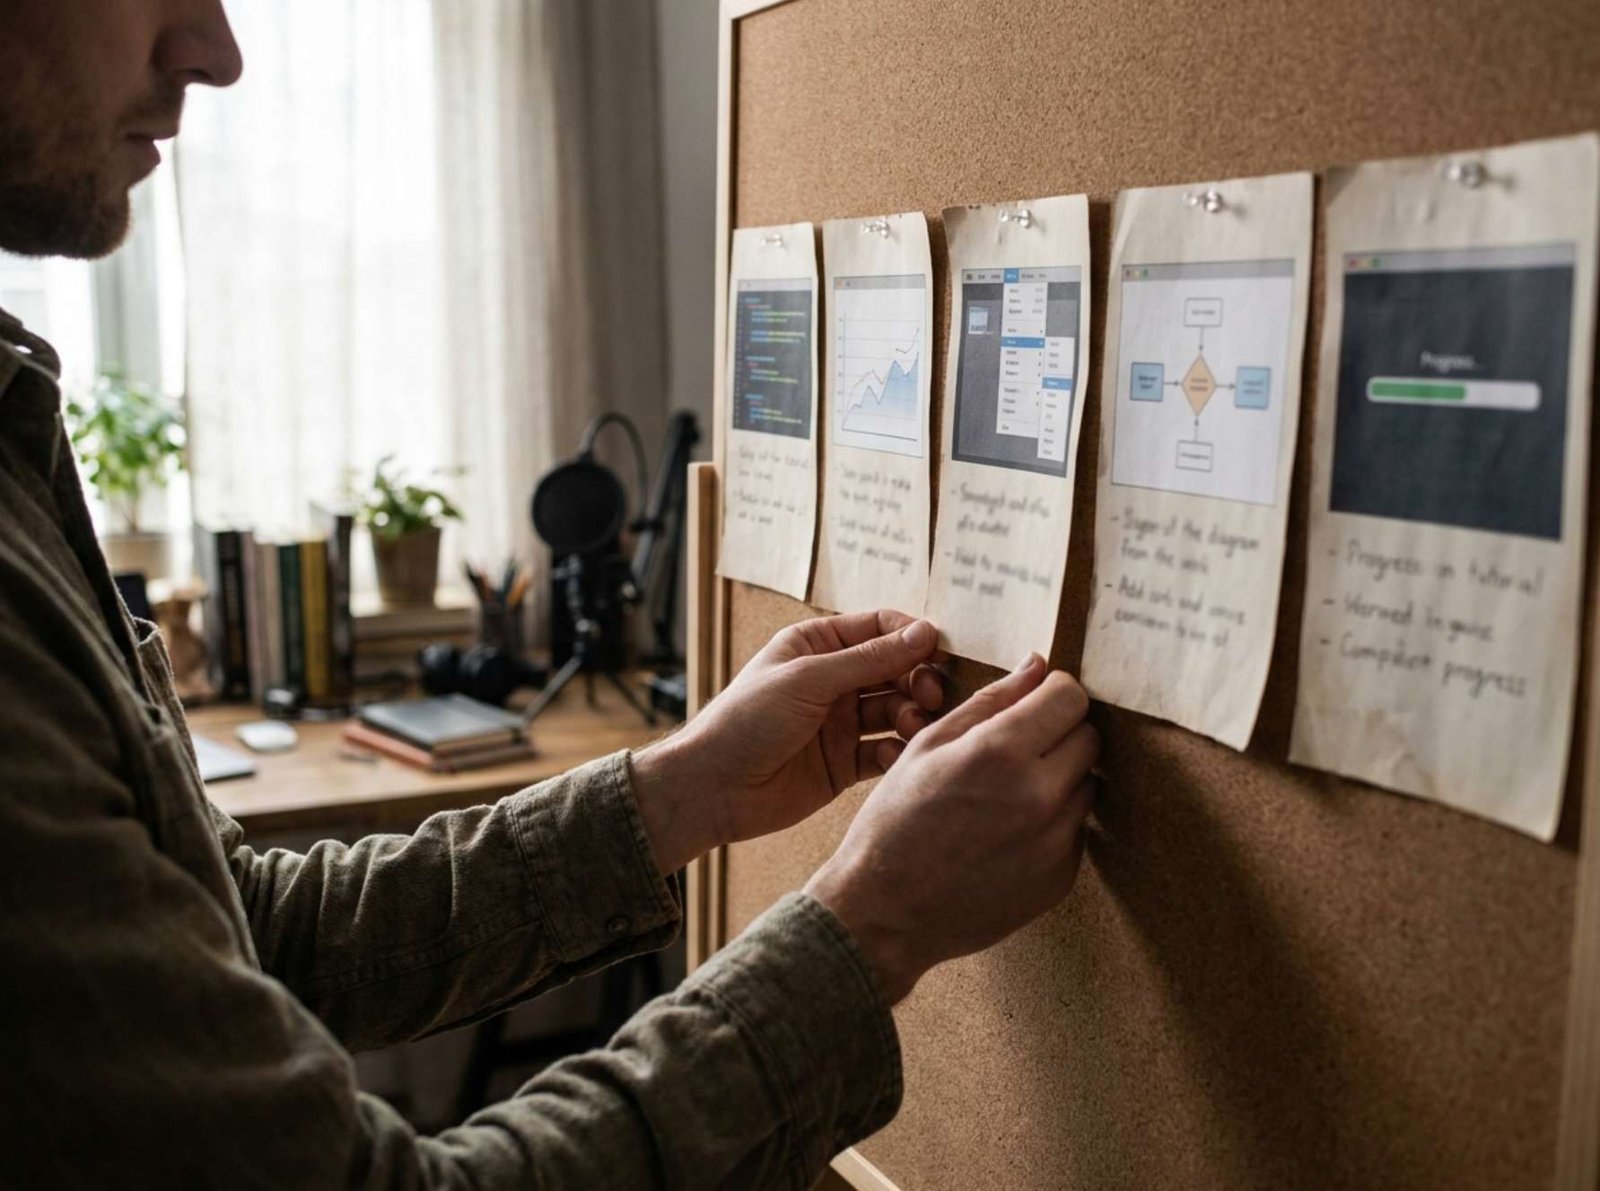
Someone watching your tutorial for the first time may need every step. Someone returning tomorrow may only want to find the export settings.
YouTube chapters help both viewers navigate the same video. They divide it into named sections so people can find and revisit specific parts.
However, a list of timestamps is only useful when the labels explain what each section contains and the links land at the right moment.
This guide shows how to plan, add, and check chapters for a prerecorded tutorial. The worked example uses an imaginary eight-minute video about preparing an image for WordPress. Its timestamps demonstrate the format; they are not timings from a published video.
1. Start with the Finished Video
Plan possible sections while writing your script, but measure the final timestamps after editing.
Removing a pause, shortening the introduction, or inserting a demonstration changes when later sections begin. A chapter list copied from an earlier cut can send viewers into the middle of a sentence.
Prepare:
- The final video.
- A simple document for timestamp notes.
- A list of the main tasks the video teaches.
For our example, the video covers preparing an image, resizing it, adjusting compression, comparing the result, uploading it, and checking its appearance on a phone.
Those tasks suggest useful chapter boundaries.
Do not divide the video into equal time intervals merely to make the timeline look tidy. A chapter should begin because the subject or task changes.
For example, a compression demonstration might need ninety seconds while the final recap needs forty. Unequal chapter lengths can accurately reflect the lesson.
Apply the “returning viewer” test
For each proposed section, ask:
Would someone reasonably return to this part without watching everything before it?
“Compare image quality” passes that test. “Move the mouse to the next button” probably does not need a separate chapter.
Keep several small actions together when they form one recognizable task.
2. Follow YouTube’s Chapter Requirements
For manually added chapters, YouTube specifies:
- The first timestamp must begin at 00:00.
- The list must contain at least three timestamps in ascending order.
- Each chapter must last at least 10 seconds.
YouTube also directs creators without chapter access to its advanced-feature access process. These requirements appear in its video chapters documentation.
The ten-second minimum applies to the final chapter too.
Suppose a video ends at 08:20. A last chapter starting at 08:15 would leave only five seconds. Move the boundary to the actual beginning of a longer closing section or include that material in the previous chapter.
A chapter entry marks a section’s start. The next entry determines where that section ends, and the final section continues to the end of the video.
You do not need to add an extra timestamp at the exact end just to close the list.
3. Find Boundaries That Preserve the Instruction
Watch the finished video and note where each task begins.
For every candidate timestamp, replay a few seconds before and after it. Choose a starting point that includes the sentence introducing the action.
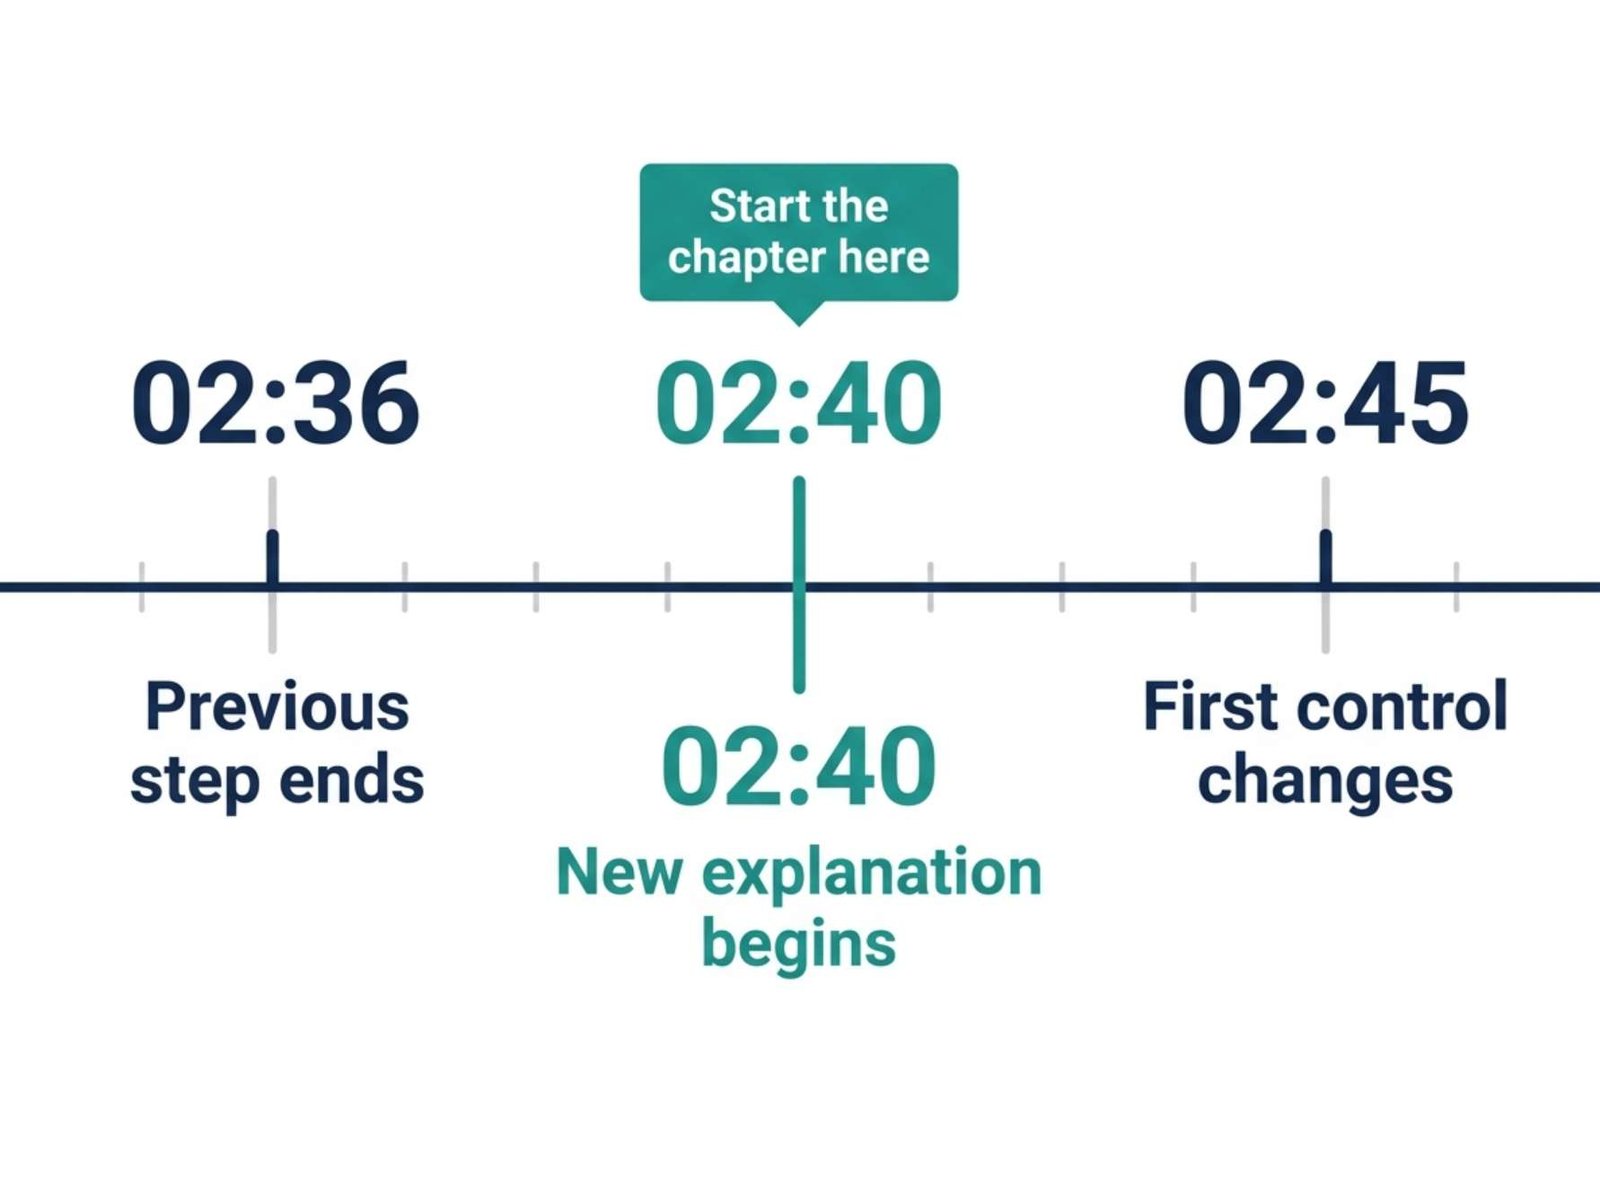
Imagine this sequence:
- At 02:36, the previous demonstration finishes.
- At 02:40, the presenter says, “Now let’s reduce the file size.”
- At 02:45, the first compression control is changed.
The useful boundary is likely 02:40. Starting at 02:45 would omit the explanation of what the viewer is about to do.
A chapter should not force someone to rewind immediately to understand the context.
Keep prerequisites close to the action
If a section depends on an earlier choice, briefly restate that dependency in the video where practical.
For example:
With the working copy open, we can now resize the image.
That opening is easier to follow after a chapter jump than:
Now do the same thing here.
Chapters also reveal weaknesses in the edit. If a section cannot be understood without an unrelated explanation several minutes earlier, consider whether the narration needs a clearer introduction.
Example chapter plan
For an illustrative video lasting 08:20, the planning table might look like this:
| Start | Chapter | What begins here |
|---|---|---|
| 00:00 | What you will prepare | The finished image and the lesson’s purpose |
| 00:35 | Keep an original copy | Preparing a separate working file |
| 01:20 | Resize the image | Choosing suitable dimensions |
| 02:40 | Adjust compression | Reducing file size |
| 04:10 | Compare image quality | Checking details in the result |
| 05:25 | Upload to WordPress | Adding the prepared file |
| 06:45 | Check the mobile layout | Reviewing the image on a smaller screen |
| 07:40 | Final checks | Reviewing the completed workflow |
Every section has a distinct purpose. The closing chapter lasts forty seconds because the example video ends at 08:20.
Use the structure as a planning model. Measure your own video rather than copying these times.
4. Write Titles That Help People Choose
A chapter title should help someone decide whether to jump there.
Compare these labels:
| Vague title | More useful title |
|---|---|
| Part 1 | Resize the image |
| Important settings | Adjust compression |
| Look at this | Compare image quality |
| Next step | Upload to WordPress |
| The final secret | Check the mobile layout |
“Part 1” describes the sequence but does not identify the topic. “Resize the image” names the task.
Use a consistent style across the list. For a tutorial, short action phrases often work well:
- Select the recording window.
- Set the output size.
- Record a test clip.
- Review the saved file.
You do not need to repeat the full video title in every chapter.
For example, “WordPress Image Optimization Tutorial: How to Resize Images for WordPress” is unnecessarily long when the surrounding video already establishes the topic.
Keep labels accurate. Do not name a chapter “Fix every upload error” when it demonstrates one specific error.
Distinguish similar sections
If the video contains two checks, explain the difference.
“Check quality” and “Check again” are hard to distinguish. “Compare image detail” and “Check the mobile layout” tell the viewer what each review covers.
A useful editing exercise is to read only the chapter titles. The list should describe the video’s progression without requiring the full transcript.
5. Add the List to the Video Description
On a computer:
- Sign in to YouTube Studio.
- Open Content.
- Select the video.
- Edit its Description.
- Add the timestamp list and save.
YouTube allows video details to be edited after upload. See its video settings instructions.
Keep a short explanation of the video above the chapters. YouTube recommends using the first lines to describe the content, since viewers may need to expand the description to see the rest. See its description guidance.
Here is a sample description for the imaginary video:
Learn how to prepare an image for a WordPress article, compare the exported result with the original, and check its appearance on mobile.
Chapters:
00:00 What you will prepare
00:35 Keep an original copy
01:20 Resize the image
02:40 Adjust compression
04:10 Compare image quality
05:25 Upload to WordPress
06:45 Check the mobile layout
07:40 Final checks
Enter each chapter on its own line.
The description may also include relevant resources, credits, or related videos below this section. Keep those items separate enough that readers can scan the chapter list.
Do not place your only chapter list in a pinned comment. The manual chapter workflow uses timestamps in the video description.
What about automatic chapters?
YouTube offers an Allow automatic chapters option in the expanded video settings. Manually entered chapters override automatically generated ones. This is described in its upload settings documentation.
For a procedural tutorial, a manual list gives you control over the labels and boundaries.
If you use automatic chapters, review them against the actual lesson before relying on them.
6. Check the Watch Page and Troubleshoot Problems
After saving, open the video’s watch page.
Check both navigation and meaning:
- Does the player show chapter divisions?
- Do the labels match your intended sections?
- Does each timestamp land before the relevant instruction?
- Is the final chapter included?
- Is the description easy to scan on a phone?
A timestamp that jumps to the correct time is useful, but it does not by itself establish that the player is displaying chapters. Inspect the timeline as well.
If chapters do not appear
Check these basics first:
- The first entry is 00:00.
- There are at least three entries.
- The times are in increasing order.
- Every section meets the minimum duration.
- The entries have titles and are saved in the description.
Then check feature eligibility.
In YouTube Studio, open Settings → Channel → Feature eligibility. Google explains how to review access and the available verification routes in its advanced features guide.
YouTube also states that chapter availability can be restricted for channels with active strikes or certain content, and that automatic chapters are not generated for every eligible video. See the chapter availability notes.
Do not repeatedly re-upload a working video to troubleshoot its chapter list. Check the description and eligibility first.
If the timing is wrong
Compare the saved timestamps with the version viewers can actually watch.
A common editing mistake is keeping times from a project that still contained an introduction later removed from the export.
Correct the list using the published video’s playback position. Then test each corrected entry again.
7. Maintain Chapters When the Video Changes
Treat the chapter list as part of the video’s supporting material.
If you trim the published video, revise its structure, or upload a new version, check the timing again. A small change near the beginning can affect every later boundary.
Keep a copy of the chapter list with the final project files. A plain document containing the video title, duration, and approved timestamps is enough.
For a series, you can reuse a naming style without copying identical labels into every episode.
For example:
- “Prepare the source files”
- “Build the example”
- “Check the result”
These labels are appropriate only when those sections actually exist. More specific wording is better when it helps viewers distinguish one lesson from another.
Before finishing, try three realistic navigation tasks:
- Find the first practical step.
- Jump directly to a setting someone may need to revisit.
- Find the final verification step.
If you can complete those tasks from the labels and land at understandable starting points, the chapter list is serving its purpose.
Use chapters to make the lesson easier to navigate. Assess their quality by whether viewers can find the right instruction, not by an assumed promise of higher rankings or more views.