
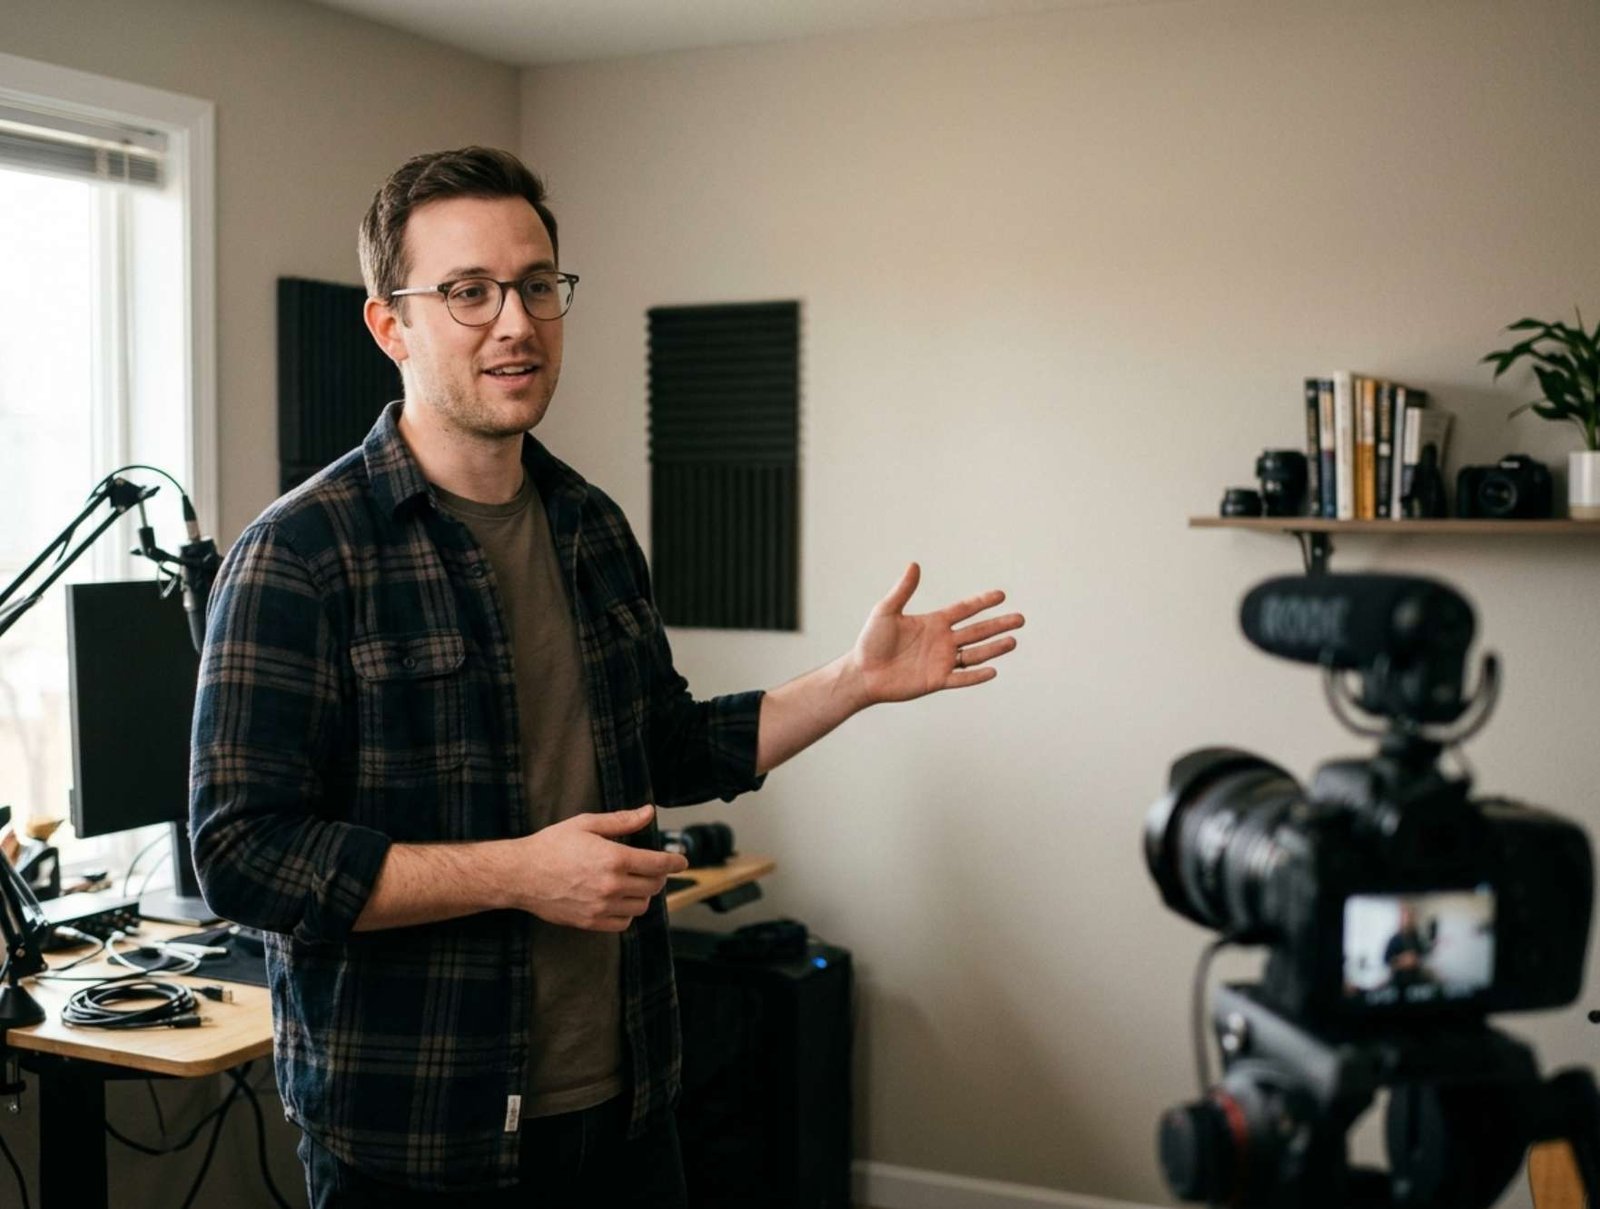
A viewer reaches the end of your tutorial and understands how to complete the task. What would help them next?
A well-planned end screen can answer that question. It gives the viewer a relevant next step while the lesson is still fresh.
The challenge is making that recommendation fit the video. An overlay that covers the final demonstration, or a long outro that repeats several requests, can get in the way of the experience you just created.
This guide explains how to choose a destination, plan the closing seconds, add the interactive elements, and check whether the ending works.
Understand the Timing Requirements
YouTube allows end screens within the final 5–20 seconds of an eligible video. The video must be at least 25 seconds long. Standard 16:9 videos support up to four elements; other aspect ratios may allow fewer. See the official end-screen guide.
This walkthrough focuses on a conventional landscape tutorial.
You do not need to fill every available position or use the entire timing window. Begin with one relevant video recommendation. Add another element only when it serves a clear purpose.
Step 1: Choose the Next Video Before Editing the Ending
Start with the viewer’s next likely question.
For example, someone who has finished a tutorial on recording a screen in OBS may next need help making the microphone sound clearer. That is a natural connection between two tasks.
Use a simple planning table:
| Current tutorial | Possible next video | Why the connection makes sense |
|---|---|---|
| Record a screen tutorial | Record clearer voice audio | The viewer now needs understandable narration |
| Prepare images for WordPress | Check images on mobile | The viewer needs to inspect the published result |
| Add YouTube captions | Correct common caption mistakes | The viewer can improve the text they just added |
These are example pairings, not a claim that any particular channel has published those videos.
Watch the destination before recommending it. Check that its advice still applies and that the title and thumbnail accurately describe the lesson.
Avoid choosing a video simply because it is your newest upload. If it does not answer a related question, explain the connection or choose something more useful.
Step 2: Write a Specific Spoken Recommendation
Give the viewer a reason to continue.
A general closing line such as “Watch another video” identifies an action without explaining its value.
For an OBS tutorial, try:
“Your screen recording is ready. If your voice sounds distant or echoey, the next tutorial shows how to improve the recording setup.”
That sentence connects the completed task to a new problem.
Make sure the recommended video delivers what you describe. If it covers microphone placement, do not promise that it will repair every damaged recording.
Choose a recommendation that will remain understandable if the end-screen layout changes. Describing the topic is more dependable than saying only “Click the box on the right.”
Keep other requests limited. A closing sequence that asks for a subscription, comment, share, newsletter signup, and another video gives the viewer several competing decisions.
Step 3: Finish the Lesson Before the Overlay Appears
The final practical step should remain easy to see.
For a screen-recording tutorial, that might mean showing the exported file, playing a short section, and confirming that both the image and audio are present.
Complete that demonstration before placing large recommendation elements over the picture.
YouTube’s own creator guidance emphasizes keeping end screens clear of important visuals. Viewers can also hide the overlays during playback. See YouTube’s explanation of end-screen visibility.
A useful ending can still contain speech or motion. It simply needs to leave room for the recommendation without concealing information the viewer came to learn.
Step 4: Plan the Final 20 Seconds
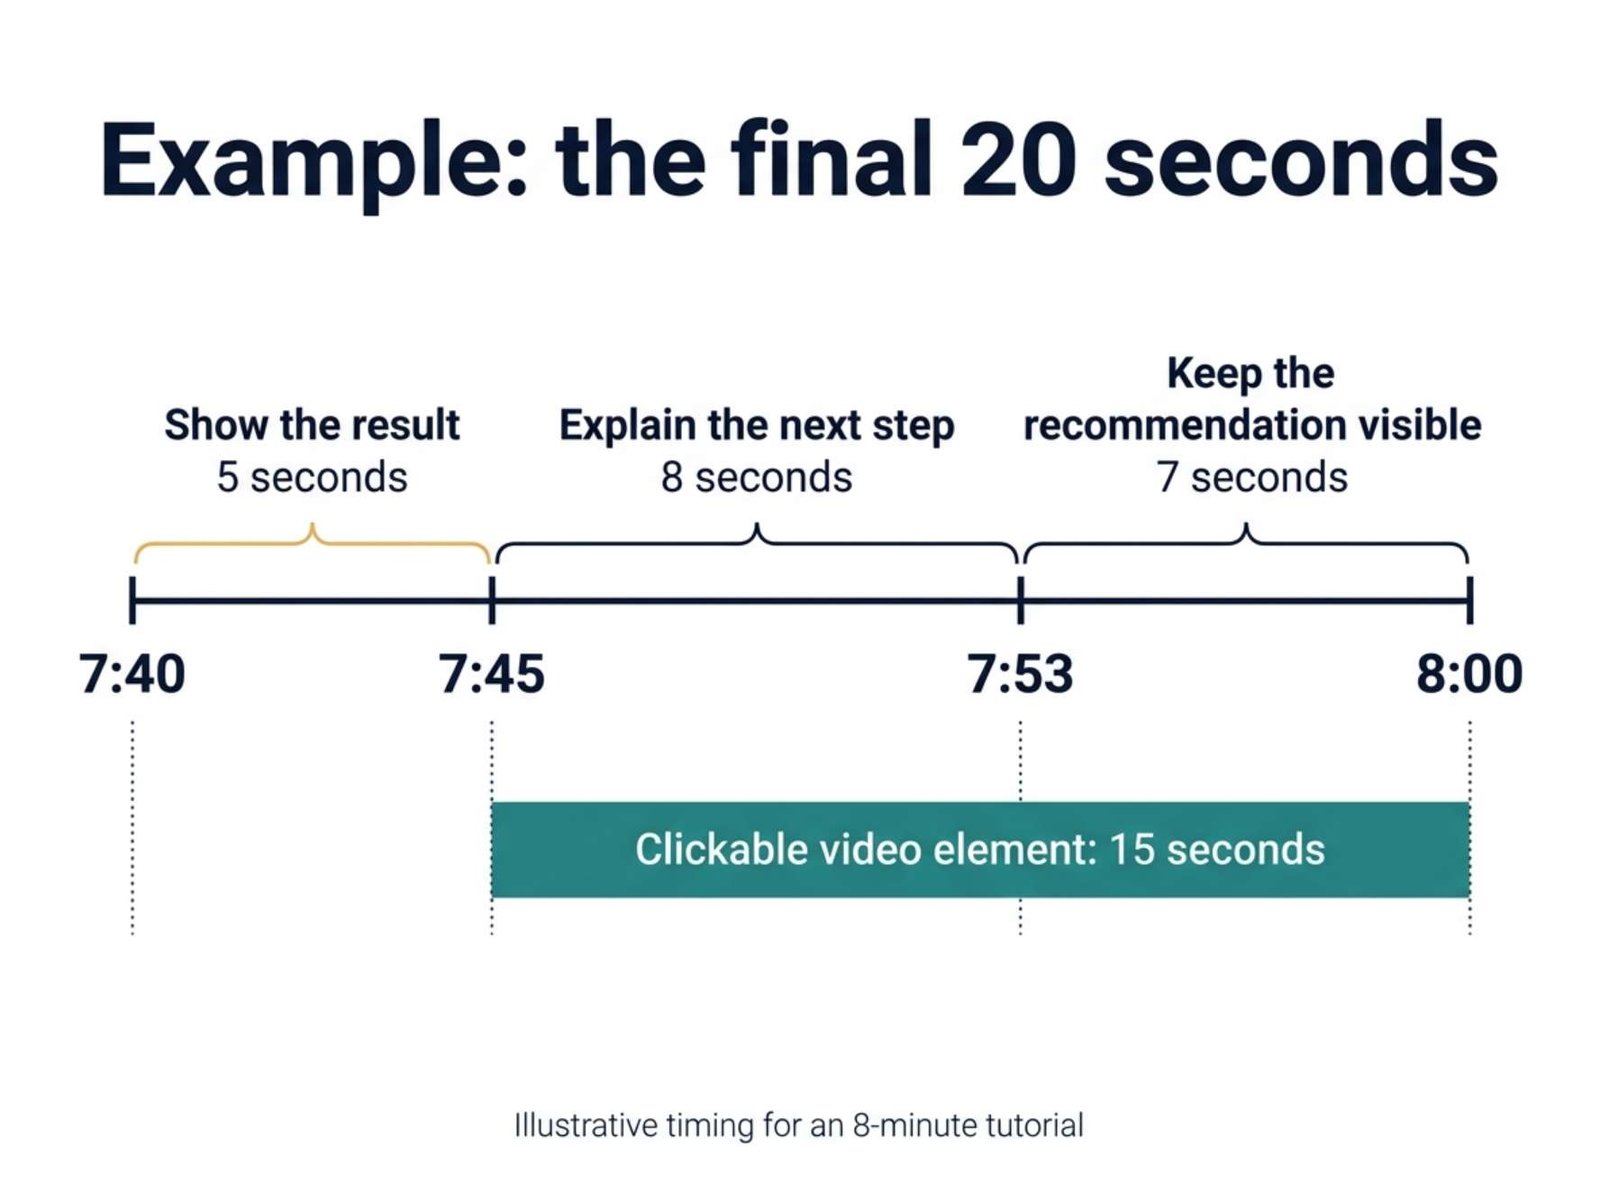
Here is an illustrative ending for a video that runs exactly 8 minutes.
| Time | What happens | Purpose |
|---|---|---|
| 7:40–7:45 | Show the finished recording and confirm the result | Complete the current lesson |
| 7:45–7:53 | Introduce the related audio tutorial while its end-screen element appears | Explain the next step |
| 7:53–8:00 | Keep the recommendation visible over a simple closing shot | Allow time to consider it |
In this example, the interactive element runs from 7:45 to 8:00, giving it 15 seconds on screen.
These timings are a planning example. Adjust them to your actual narration and final export.
Do not stretch a short conclusion into an empty 20-second hold just to fill the available window. Likewise, avoid rushing the recommendation so quickly that the viewer barely has time to understand it.
Read the closing script aloud while watching the timeline. If the recommendation feels disconnected from the lesson, rewrite the transition before adding more graphics.
Step 5: Leave Space in the Video Composition
Plan where the interactive element will sit.
For a talking-head ending, place the presenter to one side and leave a quiet area elsewhere in the frame. For a screen tutorial, transition to a simple closing background after the demonstration is complete.
Keep these areas clear:
- The presenter’s face.
- Any result you still need viewers to inspect.
- Important on-screen instructions.
- The lower area where captions may appear.
A useful starting layout is one video recommendation beside the presenter. A subscribe element can be secondary if you want one.
This is a design choice rather than a rule about how many elements perform best.
Keep decorative borders loose. Avoid building a background that depends on an interactive rectangle fitting an exact outline on every device.
You also do not need to repeat the recommended video’s complete title in large background text. A brief label such as “Next: clearer voice audio” may be enough to explain the connection.
Step 6: Add the Working Elements in YouTube Studio
A thumbnail or button drawn into your exported video is only an image. Add the interactive element separately in Studio.
On desktop:
- Open YouTube Studio → Content.
- Select the video, then open Editor → End screen.
- Add a Video element and choose the destination.
- Adjust its placement and start and end times.
- Preview the ending and select Save.
You can also add end screens during upload. These controls are described in YouTube’s end-screen instructions.
Keep the completed video file and the Studio setup conceptually separate: the export supplies the background, while Studio supplies the clickable recommendation.
After saving, return to the actual video to check the result.
Step 7: Match the Selection Mode to Your Script
YouTube’s Video element can point to a specific video, your most recent upload, or a recommendation selected for the viewer. These choices are available in the end-screen editor.
For a tightly connected tutorial sequence, selecting the exact destination makes the spoken recommendation easier to keep accurate.
If you say:
“The next tutorial explains microphone placement.”
Choose that tutorial.
An automatically changing selection could later display a video about something else. The spoken instruction would then promise a lesson that the visible recommendation does not provide.
A broader closing line may suit an automatically selected recommendation, but it should still be useful:
“Continue with another practical guide to improving your video workflow.”
Choose the mode because it fits the ending you have created.
Step 8: Check the Saved Result on Desktop and Mobile
Watch the last part of the video in a desktop browser and the YouTube mobile app.
Check:
- The lesson finishes before anything important is covered.
- The recommendation appears when the narration introduces it.
- The thumbnail and title are readable.
- Captions remain understandable.
- The element opens the intended video.
- The ending still makes sense without clicking.
For an unpublished tutorial, an unlisted upload can help you review the viewing experience before making the video public.
If an end screen is absent, remember that YouTube does not display it in every viewing context, and videos marked “made for kids” are ineligible. Consult the official availability notes before treating a missing overlay as an editing error.
Step 9: Review Clicks and Retention Together
After the video has received viewing activity, examine two separate questions:
- Are viewers reaching the closing section?
- Are they choosing the recommendation when they see it?
For the selected video, open Analytics → Engagement and look for End screen element click rate. YouTube describes this as a report showing how often viewers clicked each end-screen element. See its engagement analytics guide.
Then inspect audience retention around the transition into your ending.
YouTube explains that retention dips can represent skipping or leaving, and that retention data typically takes one to two days to process. See the audience-retention documentation.
Interpret the reports together:
| What you observe | What to investigate |
|---|---|
| Viewers leave before the recommendation appears | Check whether the closing section starts too slowly |
| Viewers reach the ending but rarely choose the next video | Review the destination and how you explain it |
| The final demonstration coincides with a drop | Check whether overlays obscure something useful |
| Only a small amount of activity is available | Avoid drawing a firm conclusion yet |
These are investigation prompts, not proof of what caused a result.
An end-screen click also does not tell you how much of the destination video someone watched. Keep the quality of that next lesson part of your review.
Improve One Decision at a Time
Make a note of the original setup before changing it.
Record the destination, the closing sentence, the element’s start time, and the date of any update.
If you suspect the recommendation is poorly matched, try a more relevant destination. If the ending becomes repetitive, write a shorter transition for your next recording.
Changes to timing or destination may be possible in Studio. Changes to narration or the background belong in the editing workflow, so plan those before your next upload.
Compare similar observation periods and consider differences in audience and traffic sources. A higher rate after an update does not by itself establish that the update caused the improvement.
Final Publishing Check
Before publishing, confirm that the tutorial delivers its promised result, the ending recommends a relevant next lesson, and the saved interactive element leads to that lesson.
Keep the closing section clear, purposeful, and comfortable to watch. The best reason to continue is that the next video answers a question the viewer now wants to solve.