

A backup notification appears in your inbox. The job finished successfully, and your website is still working. It is tempting to consider the task complete.
But a successful backup job answers only part of the question. Can you retrieve the files if your website becomes unavailable? Does the backup include your images and settings? Can you restore it without discovering that an essential component is missing?
For a small WordPress blog, a useful backup routine should be straightforward: save the right information, keep copies outside the hosting account, and practice restoring a copy somewhere separate from the live site.
This guide explains that workflow using UpdraftPlus as a practical example. It is intended for a standard, self-hosted WordPress blog where you can install plugins. Stores, membership sites, and WordPress Multisite installations need additional planning because their data and recovery requirements can be more complex.
1. Understand What You Need to Save
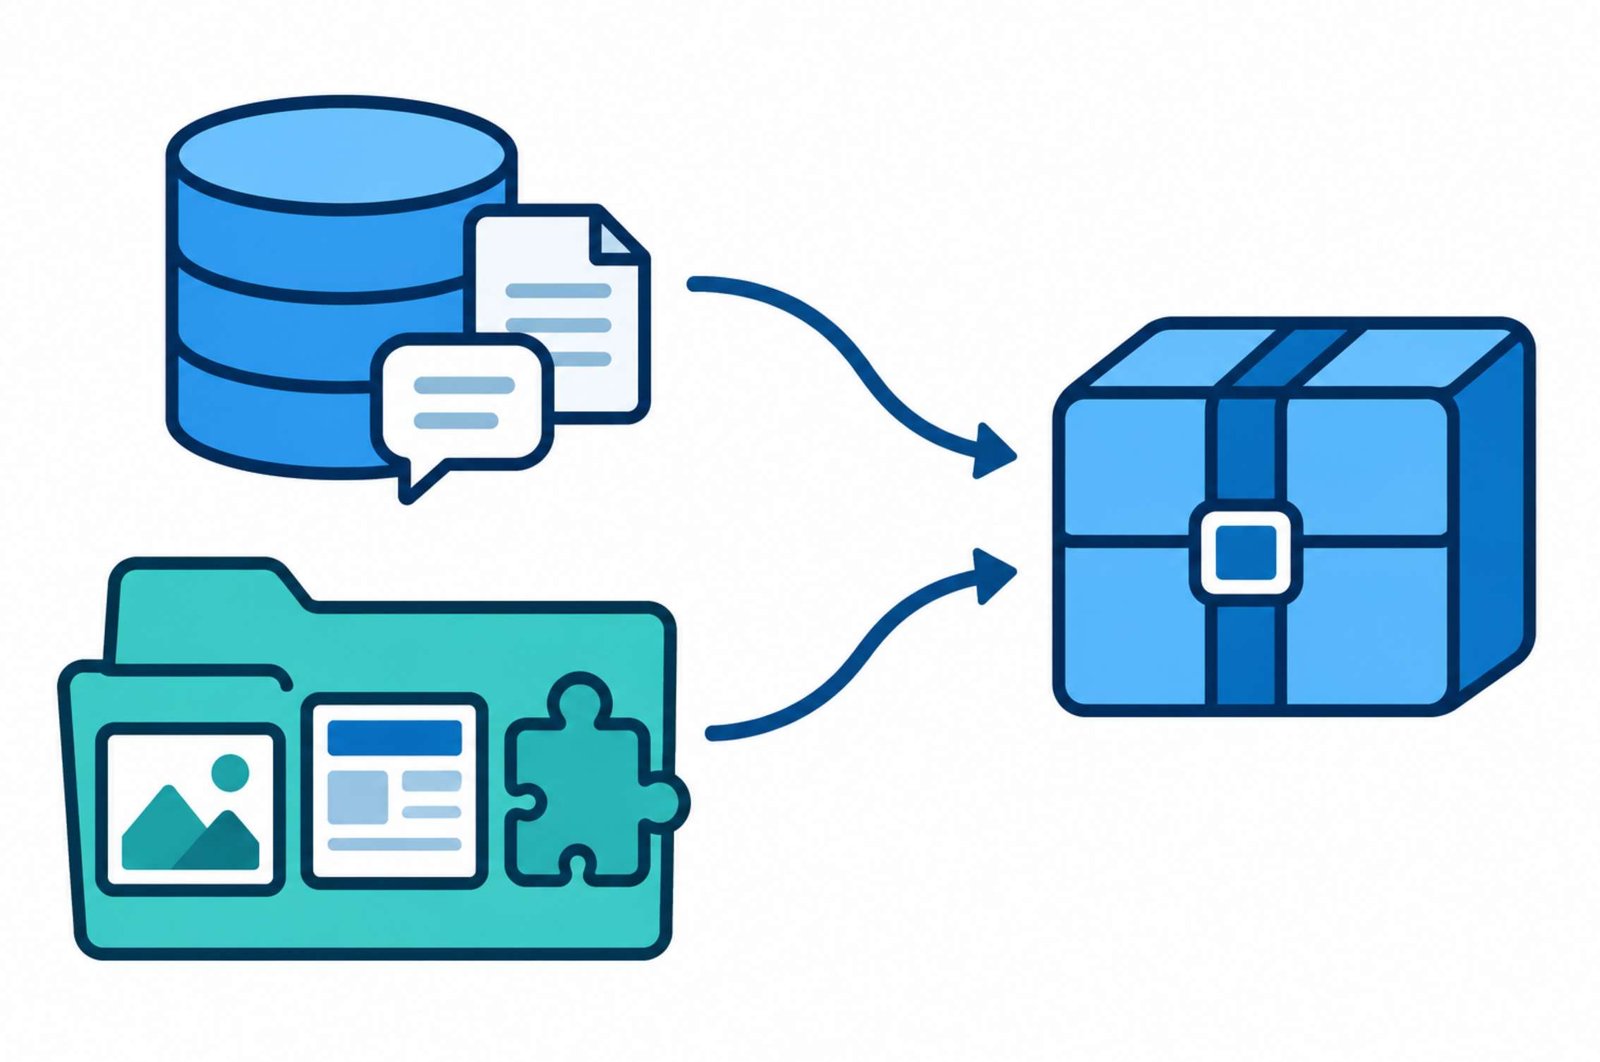
A typical WordPress website has two main parts: a database and files.
The database contains information such as posts, pages, comments, user accounts, and many site settings. Files include uploaded images, themes, plugins, and configuration files.
Both matter. A database backup can preserve the text of an article while leaving you without its image files. A downloaded website folder can contain those images while missing the database that organizes the site.
WordPress explains this distinction in its official backup documentation.
Before choosing a tool, use this basic inventory:
| Component | Examples of what it contains |
|---|---|
| Database | Articles, pages, comments, accounts, and settings |
| Uploads | Images, PDFs, and other uploaded media |
| Themes and plugins | The files that provide design and functionality |
| Configuration and custom files | Site-specific settings and files outside the usual content folders |
Keep the database and files from the same backup operation together whenever possible. Mixing an old database with newer files can leave you with a combination that never existed on the working site.
2. Do Not Confuse a Content Export with a Site Backup
WordPress includes Tools → Export, which creates an XML file containing selected content.
That export is useful when transferring articles or keeping an additional copy of your writing. However, it is not a complete recovery package for your website. It does not bundle your installed theme, plugin files, and uploaded image files into a restorable copy of the entire installation.
The WordPress export documentation lists the content included in the export.
Think about the difference through a practical question:
If the hosting account disappeared, could I rebuild the working site from this file alone?
For a standard WordPress content export, the answer is no. Keep it as a supplementary content copy if useful, but build your recovery plan around a backup that covers the database and necessary files.
3. Check What Your Hosting Provider Already Includes
Before installing another tool, inspect the backup options in your hosting account.
Write down the answers to these questions:
- Are backups enabled for this particular website?
- How frequently are they created?
- How many previous versions are retained?
- Do they include both files and the database?
- Can you download a copy?
- Can you restore to a separate test location?
- Can you request recovery if you cannot access WordPress?
These questions help you understand what the service actually provides. A dashboard entry labeled “backup” does not explain its retention period or recovery restrictions.
If the host already provides a suitable system, you may use it as your main recovery method. An independently accessible copy is still useful because it gives you another route if access to the hosting account is interrupted.
Avoid setting up several overlapping backup plugins without a reason. Choose a primary workflow, understand it, and verify its output.
4. Know What UpdraftPlus Includes
UpdraftPlus provides a concrete way to demonstrate plugin-based backups.
Its free version backs up the WordPress database and files within the content directory, including themes, plugins, and uploads, subject to the selected exclusions. Additional coverage, such as wp-config.php and custom directories outside the normal WordPress structure, is available through Premium features. The developer explains these boundaries in what UpdraftPlus backs up.
That distinction matters when planning recovery from the loss of an entire installation.
If you use the free version, arrange a separate protected copy of your configuration and any custom files outside its coverage. Your host’s file manager or an SFTP connection can help you download them. WordPress identifies wp-content, wp-config.php, and relevant additional files in its file backup guidance.
A configuration file can contain credentials. Keep it in private storage, not in a publicly accessible website folder or a shared download link.
Also remember that a WordPress backup does not automatically preserve external services such as your domain registration, hosting mailbox, or newsletter provider account.
5. Create Your First Backup
Install and activate UpdraftPlus through the WordPress plugin directory, then open its settings.
For an initial backup:
- Go to Settings → UpdraftPlus Backups.
- Open the plugin’s Settings tab.
- Choose a supported remote storage destination and complete its connection process.
- Save your settings.
- Open Backup / Restore and select Backup Now.
- Include both the database and files. Review the selected components and exclusions.
- Enable sending the backup to your configured remote destination.
- Start the backup and wait for completion.
The developer’s backup tutorial documents these controls, along with scheduling and email reporting.
Read the result rather than assuming that starting the process means it finished. If the tool reports an error, retain the message for troubleshooting.
For your first run, avoid making substantial site changes while the backup is being created. It is easier to check the result when you know which articles, images, and settings should be present.
6. Verify the Copy Outside WordPress
A backup stored only beside the live website shares some of the same risks as that website. If the hosting account becomes inaccessible, you may lose access to both.
UpdraftPlus supports remote destinations, including Google Drive and Dropbox in its free version. Available storage and account limits depend on the service you use. See the developer’s backup storage guidance.
After the first backup, sign in to the storage service directly.
Check that a new backup set arrived and that its timestamp matches the operation you just ran. Make sure the expected components are present.
You can also download a set from UpdraftPlus by selecting the individual components under Existing backups and choosing the download option. Keep every component from that set together. The developer describes this process in its website download guide.
Use a clearly named containing folder, such as:
my-blog-backup-2026-09-30
Keep the original backup filenames inside it. If a component is divided into several numbered archives, retain all of them.
Opening an archive successfully is a useful preliminary check. It still does not establish that the complete website can be restored.
7. Choose a Schedule Based on Work You Could Lose
Start with a practical question:
How much recent work could I reasonably recreate if I had to restore yesterday’s copy?
Imagine that you publish two articles, upload their illustrations, and revise several older posts in one afternoon. A backup from the previous week would not contain any of that work.
For a small blog updated most days, daily database and file backups can be a reasonable starting point. This is an example schedule, not a universal requirement. Increase the frequency if losing a day’s changes would be unacceptable.
In UpdraftPlus settings, configure both the file and database schedules and their retention counts. Do not schedule the database and accidentally leave file backups on manual.
Retention means how many older recovery points remain available. Keeping only the latest copy can be a problem if you discover an accidental deletion several days later.
An example starting plan for a modest blog is:
| Situation | Suggested action |
|---|---|
| Normal publishing activity | Daily database and file backups |
| Before changing a theme or updating software | Create an additional backup |
| Before a major redesign | Keep a clearly identified recovery point outside normal rotation |
| After changing backup settings | Check that the next scheduled job completes |
| Periodic maintenance | Restore a selected backup to a test environment |
Adjust the number of retained copies to your storage budget and how long mistakes might go unnoticed. For example, 14 daily recovery points provide a broader history than two, but consume more storage.
WordPress also recommends backups before updates and other significant changes in its backup lesson.
8. Prepare a Separate Place for the Restore Test
Do not test recovery by overwriting your public website.
Use a separate staging environment or another isolated WordPress installation. Ask your host to provide one if its setup is unfamiliar.
Before restoring, confirm that the test site has its own files and database. It must not connect to the live database.
Protect the test environment from public access. Also arrange to block outgoing email and external automated actions before loading the copied site. Restored plugins may contain the same newsletter connections, form notifications, or publishing integrations as production.
These protections are best enforced at the hosting or environment level because importing a database can replace WordPress-level settings.
Keep test backups separate from production backups as well. Once the copied site starts running, review its backup schedule and remote storage connection so its cleanup or retention jobs cannot interfere with the recovery copies you depend on.
For the exercise, label the browser tab or bookmark clearly as the test site. Check the address before every restore action.
9. Restore the Saved Backup to the Test Site
A restore to the original address and a copy to a different address are not identical operations.
When the destination URL changes, the recovery process must also handle stored site addresses and links. Follow a supported migration workflow rather than assuming that importing the database alone will update everything.
For an UpdraftPlus test using downloaded archives:
- Install WordPress and UpdraftPlus in the isolated destination.
- Open Backup / Restore on that destination.
- Use Upload backup files to upload the complete saved set.
- Locate the correct set under Existing backups.
- Select Restore and choose the database and file components needed for the test.
- Follow the wizard, reviewing all warnings before proceeding.
The developer documents the upload-and-restore route in its recovery instructions.
For a destination with a different URL, consult the current UpdraftPlus migration guide. After the database is restored, the copied site normally uses the user accounts from the backup.
Keep the destination’s database connection configured for its own database. Do not blindly replace its wp-config.php with the live site’s version; the developer explains this risk in its configuration restore guidance.
10. Check More Than the Homepage
A familiar homepage is encouraging, but it is a limited test. It may not reveal missing older uploads, broken article links, or problems with editing.
Use a small checklist that reflects how your blog actually works.
| Check | What to verify |
|---|---|
| Homepage | Layout, navigation, and featured images appear correctly |
| Recent article | Text and images match the selected backup date |
| Older article | Older media and formatting are available |
| Category page | The expected posts are listed |
| Internal links | Links intended for the copied site remain on the test destination |
| Media library | Several old and new images open |
| Administration | You can sign in and edit a disposable draft |
| Mobile layout | Navigation and article content remain usable |
On the test site, create a draft with a distinctive title, save it, and reopen it. Then check that the draft does not appear on production. This provides a practical confirmation that you are working with a separate database.
Keep email sending blocked while checking forms. Use a mail-capture feature if your test environment provides one.
A restore test should also confirm that you can work from the externally stored backup. Simply cloning the current live site with a hosting button does not prove that your downloaded archives are usable.
Record the result in a short recovery note:
- Backup date and storage location.
- Test date and destination.
- Whether restoration completed.
- Checks performed.
- Missing items or unresolved errors.
- Approximate time needed.
Do not include passwords in this note.
11. Investigate Failures Before Relying on the Backup
If a backup or restore fails, keep the error message and identify the failing stage.
Did the backup creation fail? Did the upload to remote storage fail? Did the restore stop while extracting files or importing the database?
These are different problems.
Storage limits, damaged downloads, and server resource restrictions can affect restoration. The developer describes these cases in its restore troubleshooting documentation.
A useful support request includes the operation time, failed component, and relevant error text. Share logs privately because they may contain site details.
Do not immediately delete older working backups to make room for a new unverified set. First confirm which recovery points remain usable and where independent copies are stored.
After correcting the issue, repeat the failed operation and the relevant checks. A changed setting alone is not evidence that recovery now works.
12. Understand What a Real Rollback Will Remove
A database restore returns the selected data to an earlier state. Posts, comments, and settings added afterward may be lost from that restored database.
For example, if Monday’s backup is restored on Thursday, articles created on Tuesday and Wednesday will not magically merge into Monday’s copy.
Before a real production rollback, preserve the current state separately when possible. That may help recover newer content even if the current installation is partly broken.
Identify the last known working point, document what changed after it, and decide what must be preserved. A simple blog might have a few recent posts to recover. A store can have new orders and payments, which require a much more careful process.
WordPress explicitly notes that importing a database backup returns it to the backed-up state in its database restoration instructions.
Your first practical milestone is a dated backup outside the hosting account and a successful restore of that exact backup on an isolated test site. Once you have both, keep the schedule running, monitor failures, and repeat the recovery exercise after major changes to the site or backup system.