

A voice recording can contain a useful explanation and still be difficult to listen to. A fan runs in the background, the room adds an echo, or the microphone captures more of the surroundings than the speaker.
Adobe Podcast Enhance Speech offers a browser-based way to process these recordings. However, a quieter background does not automatically mean a better result. You also need to check whether the words remain clear and the voice still sounds natural.
This guide explains how to prepare a recording, try the tool, compare the processed version with the original, and decide which version belongs in your finished project.
What Enhance Speech Can Help With
Enhance Speech processes existing speech recordings to reduce unwanted noise and improve voice clarity. Adobe explains that results depend on how audible the speaker is and how much background noise is present. Clearer source recordings generally produce better results. See the Adobe Podcast FAQ.
Useful candidates for a trial include:
- A tutorial voiceover with a steady background hum.
- An interview recorded in a room with distracting reflections.
- A spoken introduction recorded away from your usual microphone.
- A lesson in which the voice is understandable but tiring to follow.
Treat processing as an option to evaluate. A recording that already sounds clear may need little additional work.
If a noise completely covers an important word, do not assume enhancement will recover it accurately. For an instructional video, recording that sentence again may be the more dependable solution.
Check the Free Plan Before Preparing Your File
At the time of writing, Adobe lists these limits for the free version of Enhance Speech:
| Feature | Free plan |
|---|---|
| Supported media | Audio only |
| Maximum duration per file | 30 minutes |
| Maximum file size | 500 MB |
| Daily processing allowance | 1 hour |
| Uploads | One file at a time |
| Enhancement strength adjustment | Not included |
Adobe currently offers Podcast Premium access through its Firefly Pro plan. Listed additions include video support, bulk uploads, and controls for speech, music, and ambience.
Check the official Adobe Podcast plans page before starting a large project because allowances and plan features can change.
For an initial test, a short audio excerpt is enough. You do not need to process an entire interview to discover whether you like the result.
Step 1: Preserve the Original Recording
Create a separate working copy before uploading anything.
For example:
tutorial-voice-original.wavtutorial-voice-test.wavtutorial-voice-enhanced.wav
Keep the original available throughout editing. You may want to restore a sentence, compare a suspicious sound, or choose the unprocessed recording after listening carefully.
If the speech is part of a video project, export the voice track separately when possible. Leave background music and sound effects out of this first test.
Separating the voice makes it easier to judge what enhancement does to speech. It also lets you add music later without making the voice-processing step responsible for preserving the entire soundtrack.
Avoid running the same recording through several cleanup tools before your first comparison. Start with a copy of the original so you can identify what this particular processing step changes.
Step 2: Choose a Representative Test Section
Select roughly 30–60 seconds containing more than your clearest sentence.
Include a few different conditions:
- Normal speaking volume.
- A quieter phrase near the end of a sentence.
- A pause that exposes the background noise.
- A name, number, or technical term.
- The most distracting noise that occurs during speech.
This is a suggested testing length, not an Adobe requirement.
For a WordPress tutorial, a useful excerpt might include:
“Open Settings, then Reading. Do not change the homepage until you have saved a copy of the current settings.”
That sentence gives you several things to check. “Settings” and “Reading” must remain understandable, and the quiet word “not” must not become harder to hear.
Choose a sample that represents the problems in the full recording. A clean introduction tells you little about a later section recorded while a fan or air conditioner was running.
Step 3: Upload the Sample
Open Adobe Podcast Enhance Speech, sign in if prompted, and upload your test file.
Adobe lists WAV, MP3, M4A, AAC, and FLAC among its supported audio formats. Its documentation also states that Enhance Speech returns the same file format you upload. See the technical requirements.
If you have an original WAV file, use that instead of repeatedly converting between compressed formats. Converting an existing MP3 to WAV does not restore information already lost during compression.
Wait for processing to finish, then preview or download the result using the available controls.
If the upload fails, check the file format, size, and duration first. Adobe also recommends checking your account’s Enhance Speech usage when you may have reached a plan limit. This is available through the account avatar or initials, as described in its FAQ.
Step 4: Compare at Similar Listening Levels
A louder voice can seem clearer even when processing has introduced problems. Before deciding which version sounds better, bring the original and enhanced versions to approximately the same perceived speech volume.
An easy comparison method is to import both files into your usual audio or video editor:
- Put the original and enhanced recordings on separate tracks.
- Align the same sentence on both tracks.
- Mute one track while listening to the other.
- Adjust playback levels until the spoken voice sounds similarly loud.
- Alternate between the same short sections.
Do not play both tracks together during this comparison. Their combined sound can make the result misleading.
Listen once for the background noise, then listen again specifically for the voice. The improvement you want is easier listening across complete sentences.
Step 5: Check the Words Before the Sound Quality
Start with accuracy. A polished voice is not useful if the listener struggles to understand the instruction.
Pay particular attention to:
| What to check | What to listen for |
|---|---|
| Quiet words | Short words and sentence endings remain audible |
| Names and technical terms | Syllables stay distinct |
| Numbers | Similar-sounding values remain easy to distinguish |
| Consonants | Speech does not become blurred or unusually sharp |
| Breaths and pauses | Transitions sound comfortable |
| Changes in speaking volume | The voice remains consistent and understandable |
Compare against the original recording or your script when something sounds uncertain.
For tutorials, check words that change the meaning of an instruction: “not,” “before,” “after,” “enable,” and “disable.” These deserve more attention than whether a silent gap has become perfectly quiet.
Then listen to the excerpt from beginning to end without switching versions. Frequent switching helps reveal differences, but continuous listening shows whether the processed voice becomes tiring.
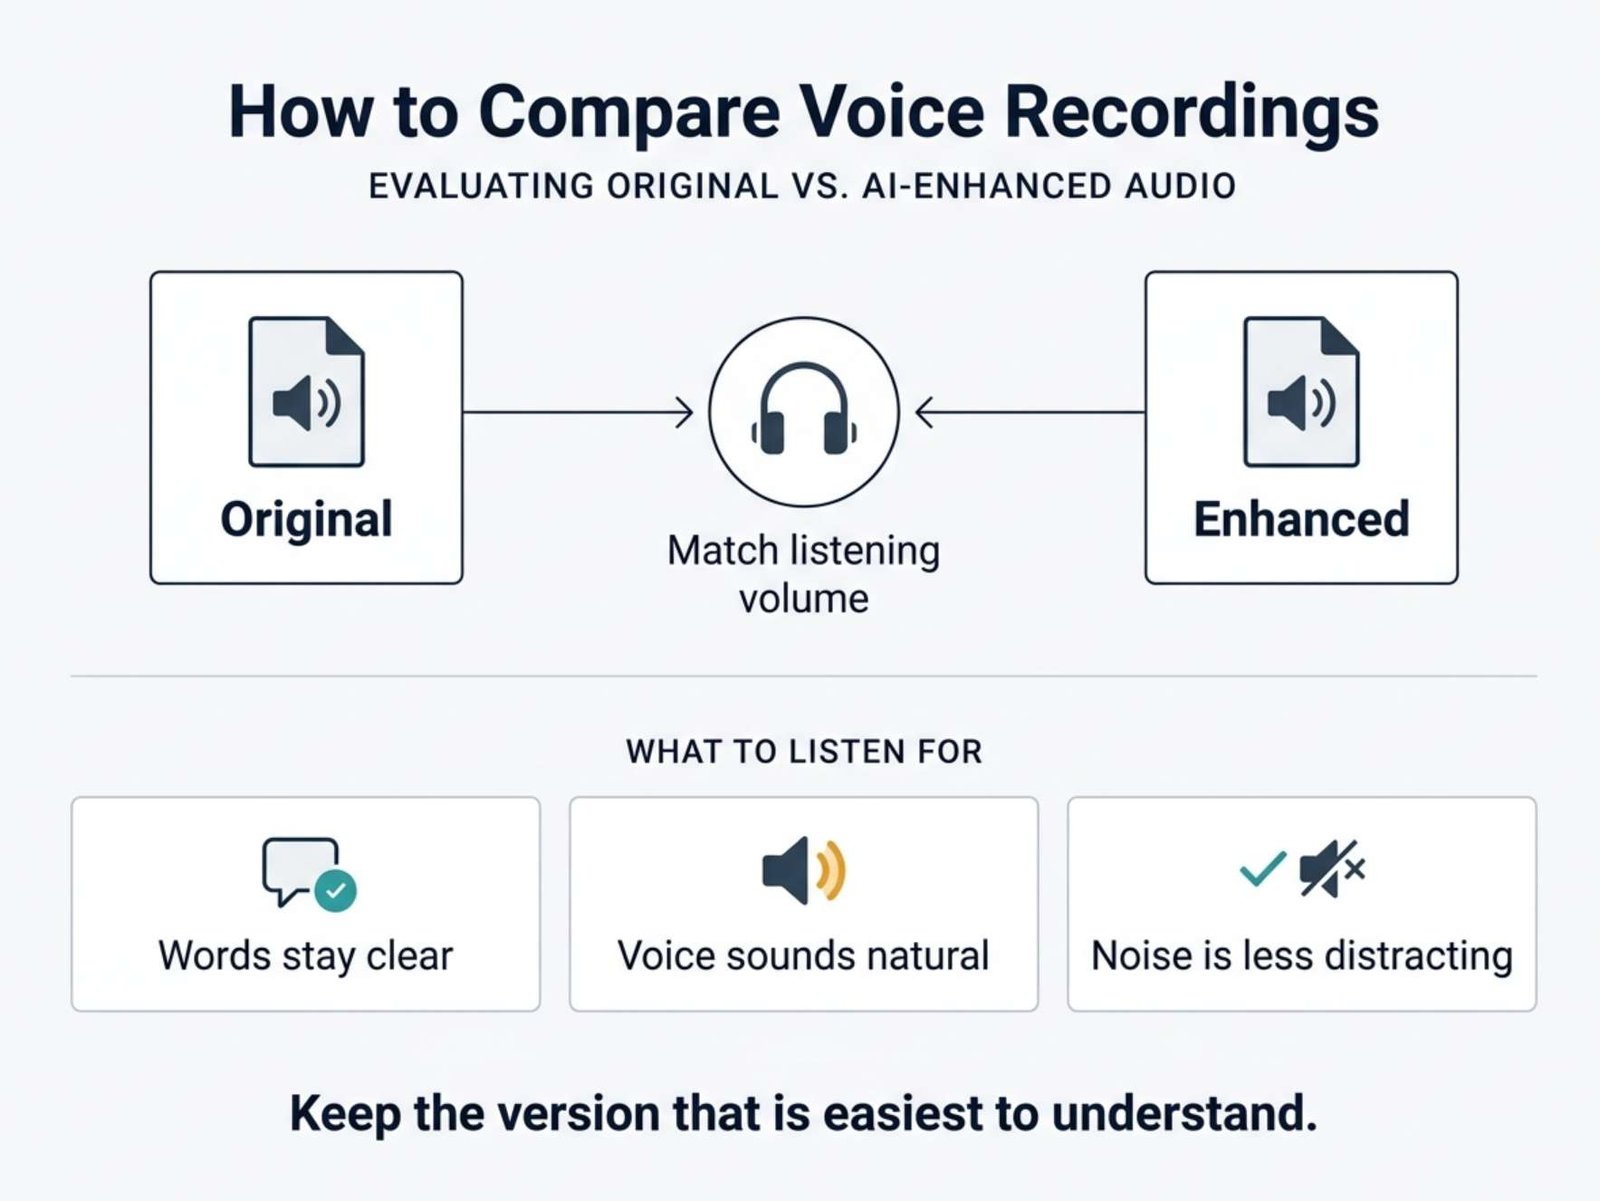
Step 6: Choose the Version That Preserves Natural Speech
If your plan provides adjustment controls, change one setting at a time and repeat the same comparison.
There is no single setting that suits every speaker, microphone, and room. Use a conservative adjustment as a starting point, then listen for the balance you prefer.
Keep a short record of your decisions:
| Version | Background noise | Speech clarity | Decision |
|---|---|---|---|
| Original | Noticeable during pauses | Every word is clear | Keep as reference |
| Processed version A | Less distracting | Quiet sentence ending sounds unclear | Reject |
| Processed version B | Some noise remains | Words and voice sound natural | Consider using |
This table is a hypothetical example, not a measured test of Adobe’s output.
On the free plan, adjustment controls are unavailable. If the processed version sounds worse, keep the original or improve the recording and try again. An upgrade is not a substitute for checking whether the output is usable.
Step 7: Process the Full Recording and Review It
Once the sample gives an acceptable result, process the full voice recording within your account’s limits.
Review the entire processed file before publishing. A successful short test does not cover every laugh, whisper, interruption, or change in microphone position elsewhere in the recording.
You can make this review useful for editing by noting timestamps:
02:14 — check the software name04:08 — quiet phrase sounds different06:32 — compare noise during explanation
Return to those sections and compare them directly with the original.
If only one sentence is problematic, consider recording it again or restoring an appropriate original section. Check the edit boundaries so the change in background sound or voice tone is not distracting.
Step 8: Put the Voice Back Into the Project
For a video, import the enhanced audio into your editor and align it with the original recording.
Keep the original track available but muted. Check synchronization near the beginning, middle, and end, especially if your workflow involved trimming or exporting separate sections.
Watch for moments where timing is easy to judge:
- A visible speaker’s mouth movements.
- A mouse click followed by an explanation.
- A button being pressed on screen.
- A demonstration timed to a spoken instruction.
Then add background music at a level that keeps the words easy to follow.
After exporting, play the finished video itself. Confirm that the correct voice track is audible and the original track has not accidentally been left playing underneath it.
When Re-Recording Is the Better Choice
Consider recording again when an essential word remains unclear, the voice sounds distracting after processing, or the source is severely distorted.
For a short voiceover, one new take may require less work than trying to repair several damaged phrases.
Before recording again, reduce the most obvious source of noise, move the microphone closer without placing it directly in the path of your breath, and make a brief test. Listen to that test before repeating the full script.
For an interview that cannot be repeated, prioritize intelligibility and the speaker’s natural delivery. Some remaining room sound may be acceptable.
Final Listening Checklist
Before using the enhanced recording, confirm that:
- You have kept the original file.
- You compared both versions at similar speech volume.
- Names, numbers, and quiet words remain clear.
- The complete recording has been reviewed.
- Any replacement edits sound smooth.
- The voice stays synchronized with the video.
- Only the intended voice track plays in the final export.
Adobe Podcast Enhance Speech can shorten the cleanup process, but the final decision still comes from listening. Choose the version that makes the speaker easiest to understand while preserving the words and the character of the voice.