
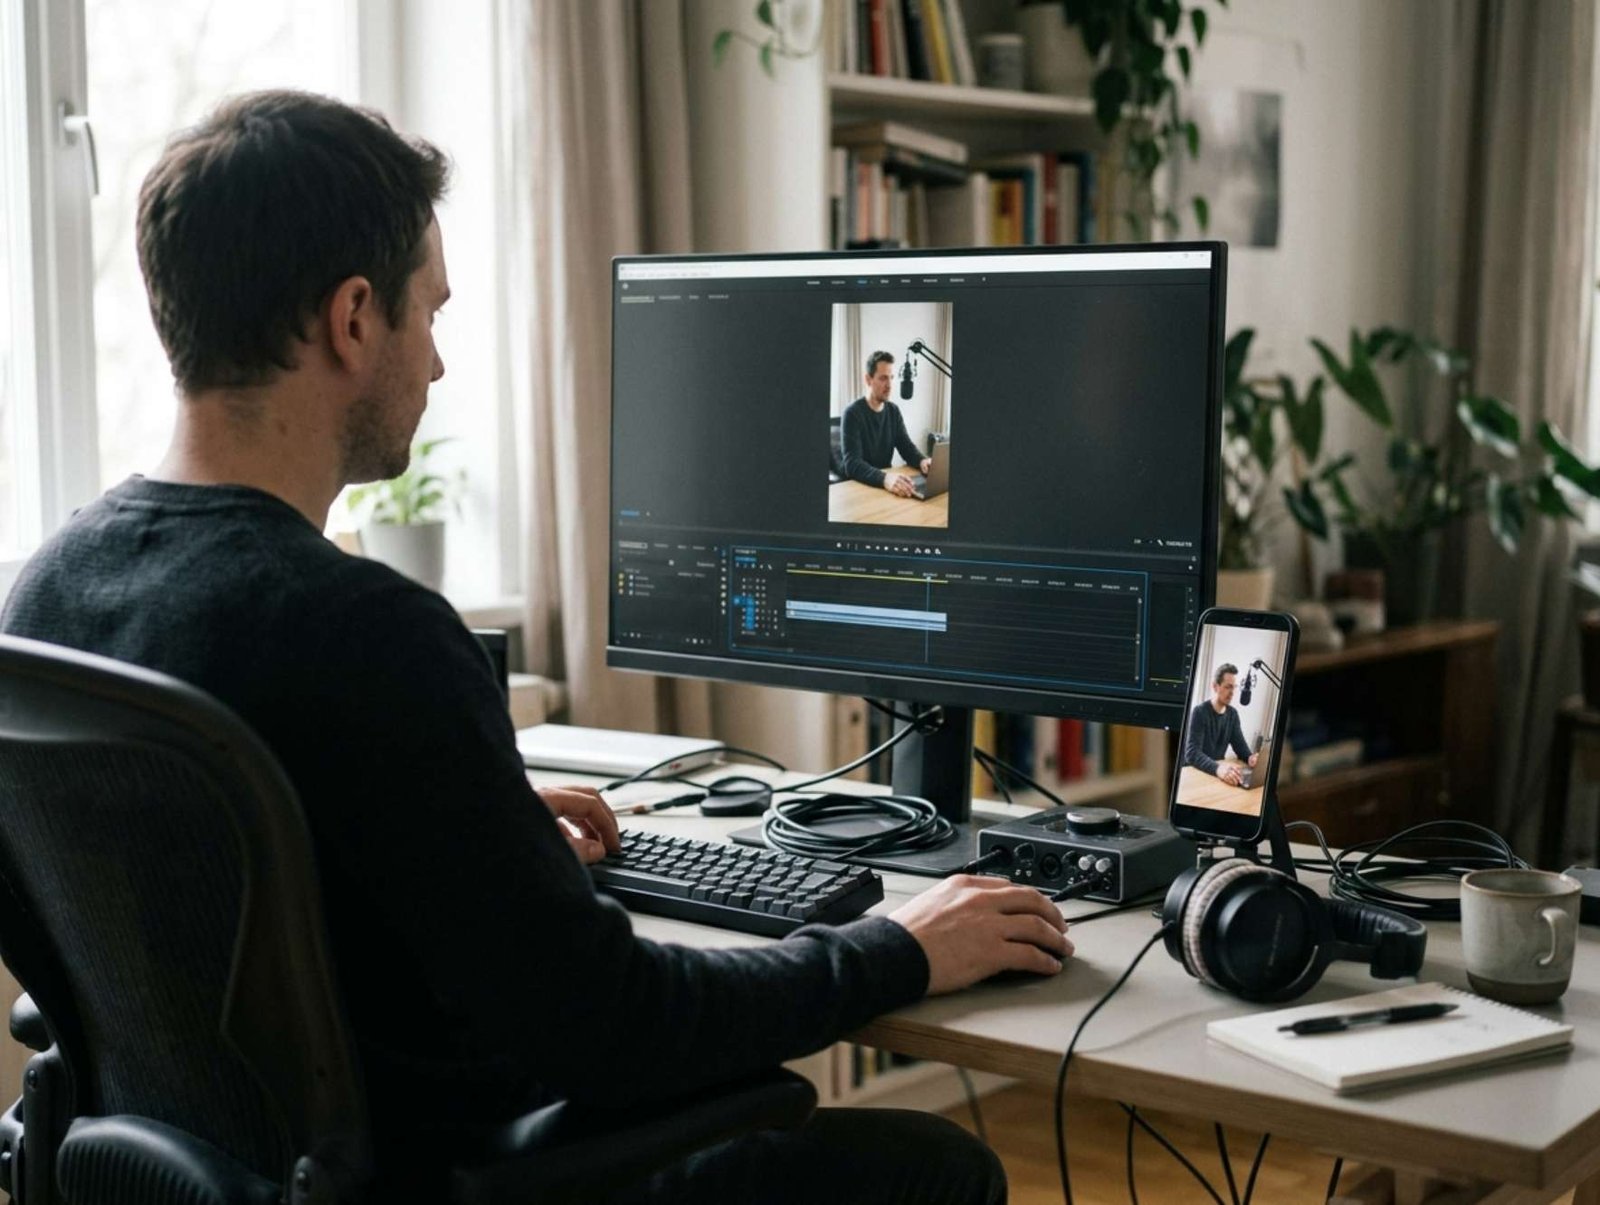
You finish editing a tutorial, export the video, and notice black bars around the picture. You enlarge the clip until the bars disappear—but now part of the demonstration is missing.
The microphone you were pointing at is outside the frame. A button in the screen recording has disappeared. Your captions sit too close to the bottom edge.
This happens because removing a border and preserving the complete picture are not always compatible. When a clip and its destination have different shapes, something has to give.
Before changing settings, find out where the bars come from. Then choose a correction that keeps the video useful.
First, Find Out Where the Black Bars Come From
Black areas around a video can come from three different places.
The player may add them. A video does not necessarily have the same proportions as the screen displaying it. Empty space around the picture can be normal, especially in fullscreen mode.
The editing project may add them. A vertical phone recording placed inside a horizontal project leaves unused space on both sides unless you crop it or design a background.
The source file may already contain them. An earlier export might have saved the bars as part of the actual picture. Your editor then treats those black pixels as ordinary video content.
To investigate, compare the original recording, the editing preview, and the exported file.
In your editor, select the original clip and inspect its boundaries. If the black area sits inside the source image boundaries, it may be baked into the file. If it appears outside the clip but inside the project canvas, it is probably unused project space.
Also check whether the problem affects every clip or just one. A single vertical insert needs a different solution from an entire project exported with the wrong dimensions.
YouTube’s player adapts to different video shapes. Its documentation recommends avoiding black padding added directly to the video because that padding interferes with flexible display. A border visible around the player does not automatically mean your upload needs fixing. YouTube’s aspect ratio guidance
Decide What Shape the Finished Video Needs
Aspect ratio describes the relationship between a frame’s width and height.
For example:
| Frame dimensions | Aspect ratio | Shape |
|---|---|---|
| 1920 × 1080 | 16:9 | Horizontal |
| 1080 × 1920 | 9:16 | Vertical |
| 1080 × 1080 | 1:1 | Square |
These are example dimensions, not requirements for every video.
Choose the finished shape according to the content and where you intend to publish it. A tutorial showing a wide software interface may benefit from a horizontal frame. A demonstration filmed vertically on a phone may work better in a vertical project.
Avoid choosing a shape simply because it removes the bars from one clip. If most of your tutorial is horizontal, changing the entire project to vertical can create problems throughout the rest of the video.
For a project containing several formats, decide which material needs the most space. That material should guide your layout.
Fit, Fill, and Stretch Produce Different Results
Most editing decisions here come down to three approaches.
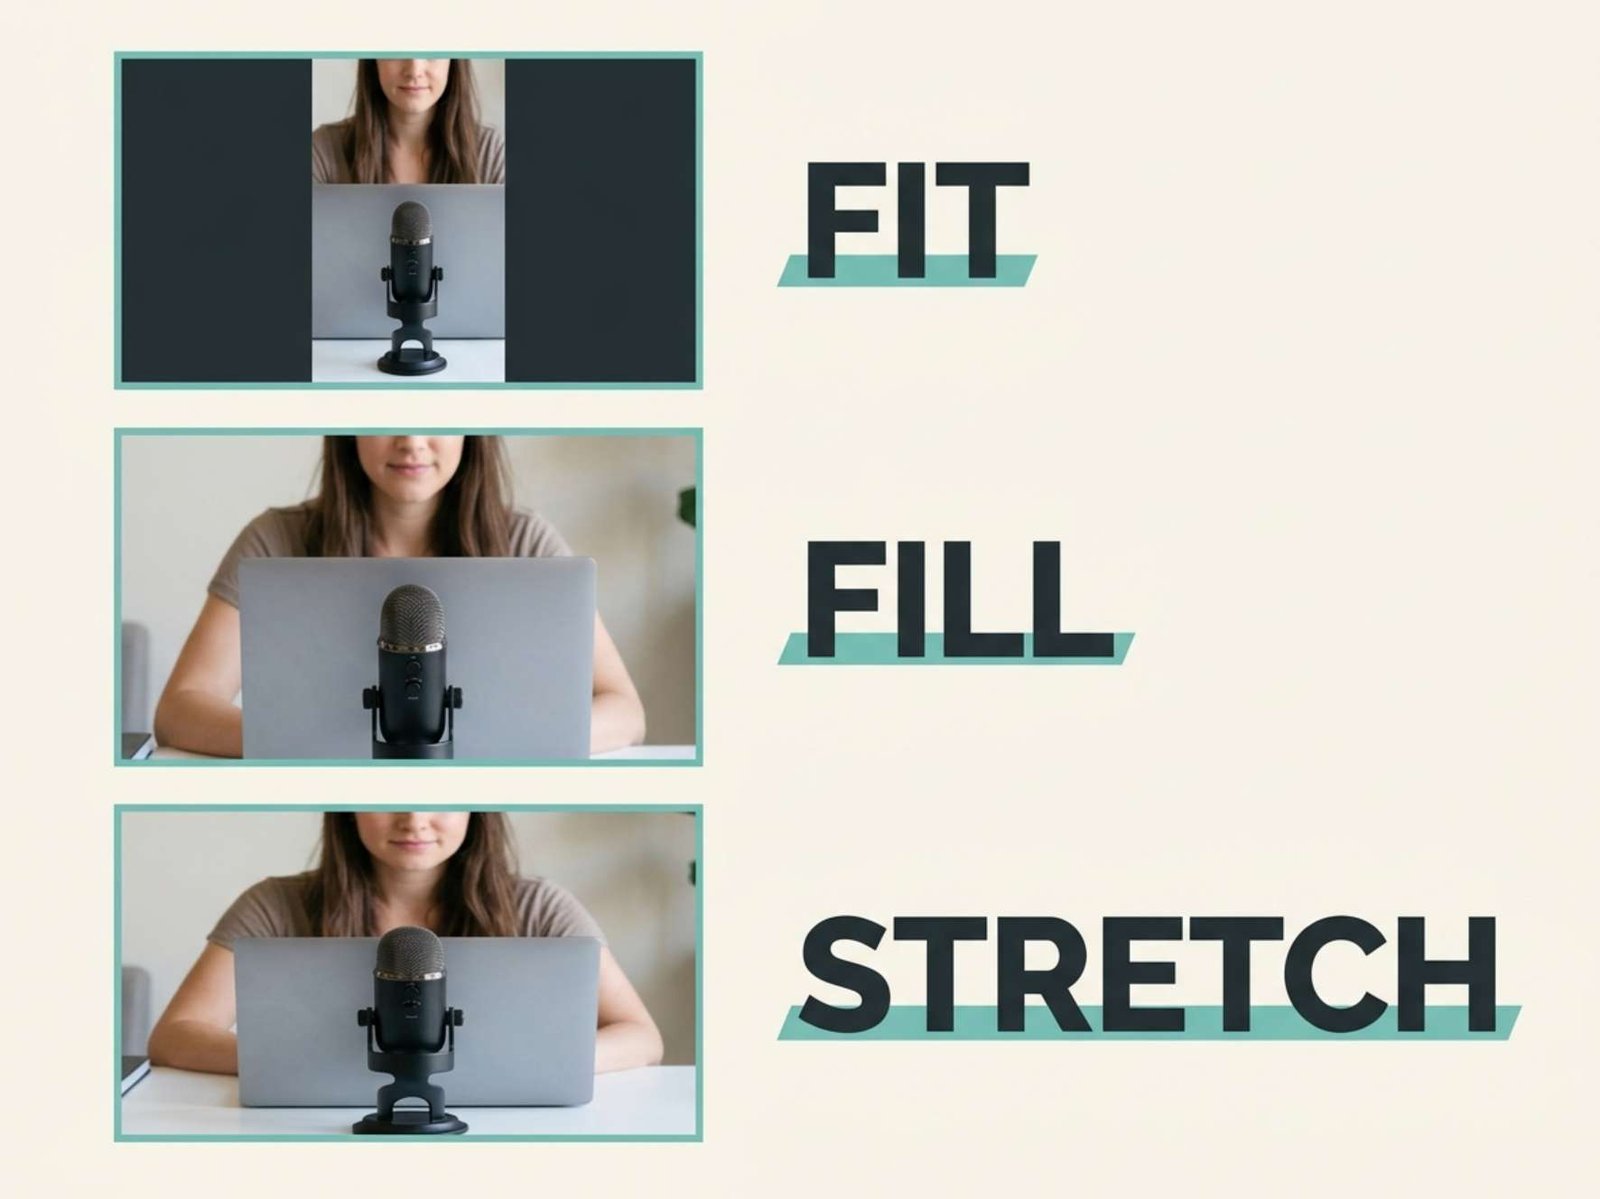
Fit keeps the entire image visible while preserving its proportions. If the image and canvas have different shapes, some space remains unused.
Fill enlarges the image proportionally until it covers the canvas. Parts extending beyond the frame are cropped.
Stretch changes the proportions to force the image into the available space. Faces can become wider, circles can become ovals, and software interfaces can look distorted.
Adobe describes the same underlying tradeoff when adapting footage between frame shapes: preserving the whole picture can leave bars, while filling a different frame can remove part of the image. Adobe’s explanation of frame aspect ratios
For instructional content, start by identifying what must stay visible.
A presenter’s face may survive a tighter crop. A demonstration involving both hands and an object may not. A software tutorial can become impossible to follow if the crop removes the menu used in the next step.
A Practical Example: A Vertical Clip Inside a Horizontal Tutorial
Imagine a horizontal tutorial about positioning a microphone. Most of the video shows the presenter at a desk, but one demonstration was recorded vertically on a phone.
This is an illustrative example.
The phone clip shows the presenter’s face at the top and the microphone near the bottom. When fitted into the horizontal project, it leaves space on the left and right.
Selecting Fill removes that space, but it also removes much of the original image.
The geometry explains why. A 1080 × 1920 vertical clip enlarged to fill a 1920 × 1080 horizontal frame becomes approximately 1920 × 3413 pixels before cropping. Only about 32% of its original height remains visible at once.
That makes it difficult to keep both the presenter’s face and the microphone in view.
Three possible edits serve different purposes:
- Keep the complete vertical clip. Use the surrounding space for a restrained background and a short label.
- Crop to the microphone. Choose this when the spoken explanation only needs viewers to see the microphone.
- Record a replacement horizontal shot. Choose this when the relationship between the face and microphone is essential.
The right choice depends on what the viewer must learn during that moment.
Adjust the Clip in Microsoft Clipchamp
Clipchamp provides controls for changing the project shape and fitting individual clips. The following workflow uses its personal-account editor.
If you want to preserve your existing version, make a copy of the project from the editor homepage first.
Open the copy and select the Size button above the preview. Choose the intended aspect ratio, such as 16:9 for a horizontal version.
Then select the problem clip on the timeline. Use Fill on the floating toolbar to cover the canvas. Reposition the image in the preview until the important subject is visible. If the crop removes necessary information, switch back to Fit.
Apply this decision to individual clips. Microsoft notes that Fit and Fill currently need to be set separately for each clip. Microsoft’s aspect ratio instructions
After making an adjustment, play the entire shot.
Do not judge a moving clip from one paused frame. A hand may enter from the side later, or the presenter may lean outside the crop. Check the beginning, the main action, and the end.
When the Black Bars Are Already Inside the File
Sometimes Fill does not solve the problem because the source file itself already contains black borders.
For example, a vertical recording might previously have been exported inside a horizontal frame. The resulting file is horizontal, even though its useful picture occupies only the center.
If you still have the original recording, use it. That avoids working from an unnecessarily padded export.
Otherwise, crop the existing file carefully. In Clipchamp, select the clip, choose Crop from the floating toolbar, adjust the handles around the useful image, and select Done. Microsoft documents this freehand cropping process separately from changing the project aspect ratio. Microsoft’s cropping instructions
Removing baked-in bars does not create the missing scenery outside the recording. After cropping, you still have to decide how the remaining picture fits your destination frame.
Check sharpness as well. Enlarging a small image can make existing softness more noticeable, particularly in text and fine details.
Give Screen Recordings Special Treatment
Screen recordings often need more caution than camera footage.
A crop that looks clean can remove a navigation panel, a confirmation message, or the button viewers need to click.
Before cropping a software demonstration, watch it once and note the locations of every essential action. Include menus that open temporarily and messages that appear near the screen edges.
If the demonstration uses several distant areas, keeping the full recording may be more useful than filling every pixel of the frame.
For a future recording, prepare the application window before capturing it. Choose a window shape closer to your intended output, increase interface or browser zoom where appropriate, and check that important controls remain visible.
Record a short sample first. Open a menu, perform an action, and inspect the result at the size your audience is likely to watch.
Use Empty Space Deliberately
A vertical insert does not always need to occupy the full width of a horizontal video.
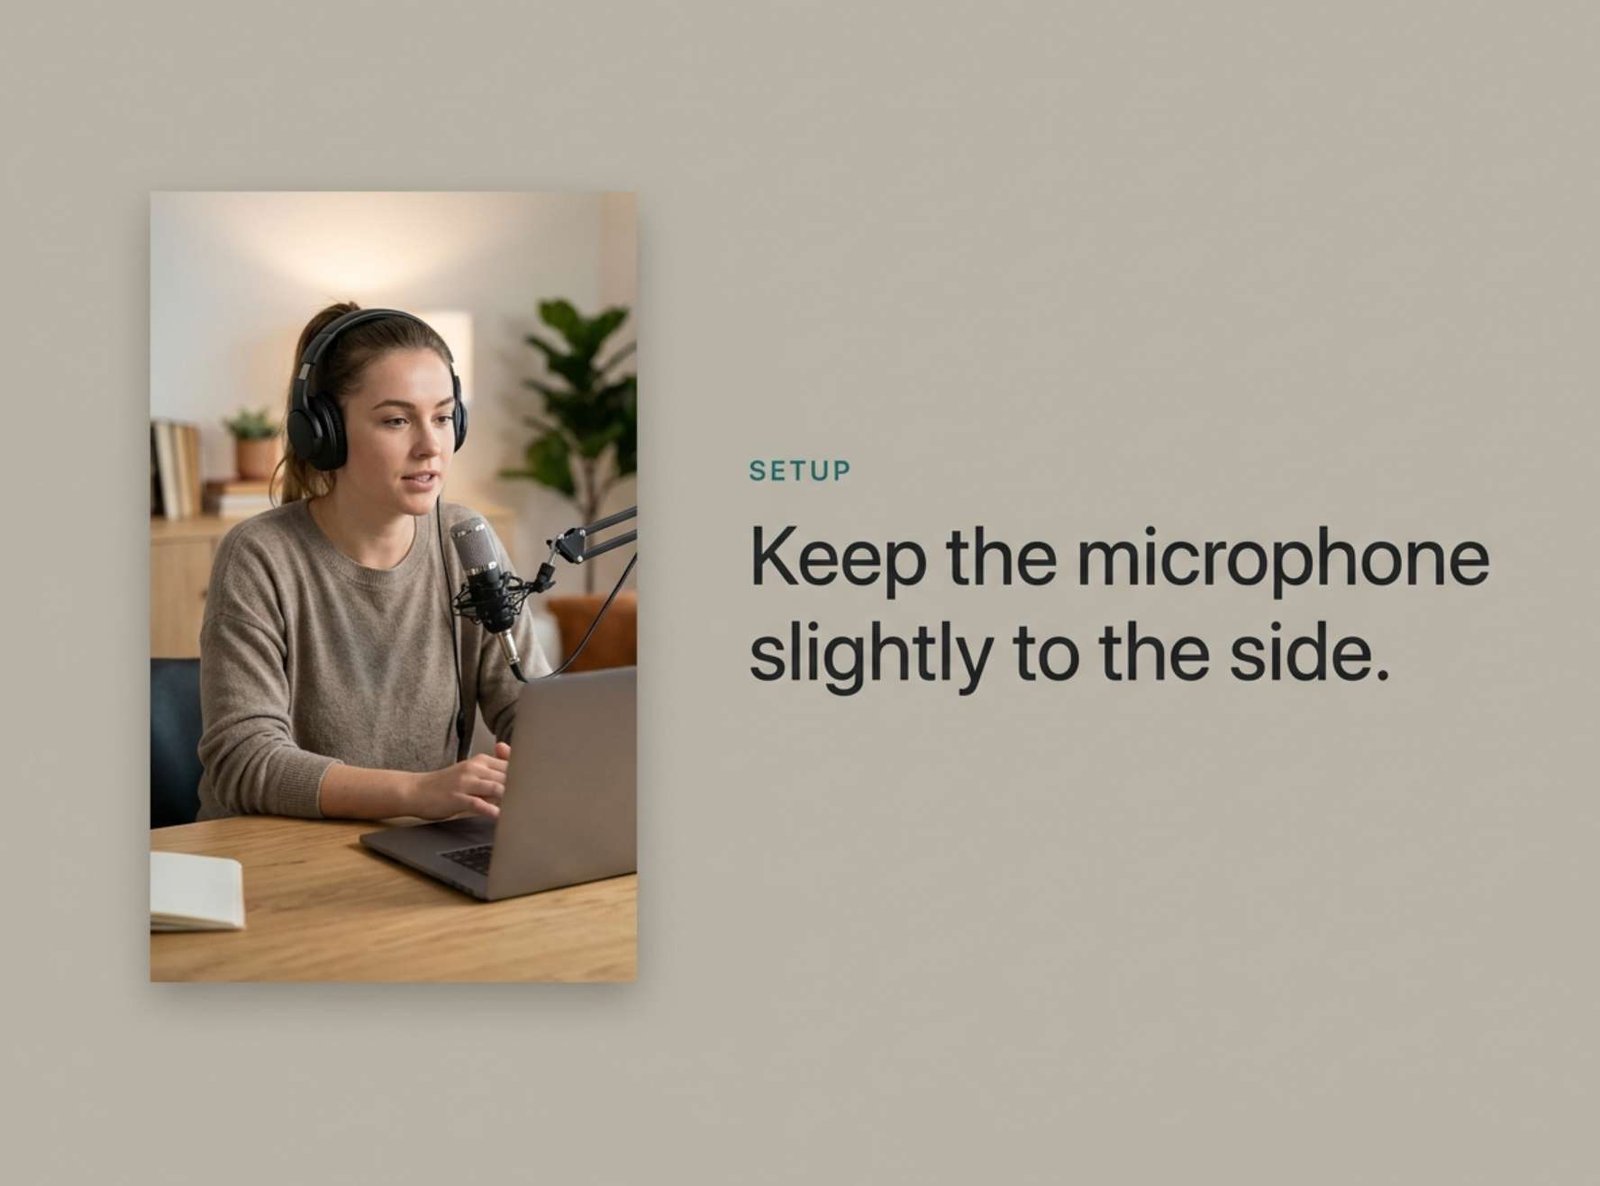
You can place it on a simple background and use the remaining space for context:
Keep the microphone slightly to the side of your mouth.
That arrangement can preserve the complete demonstration while making the instruction easier to understand.
A blurred duplicate of the footage is another possible background treatment, but inspect it for distracting movement. A plain background may work better when the demonstration already contains a lot of detail.
Avoid filling the extra space with paragraphs, decorative icons, or unrelated animation. The viewer should know immediately where to look.
For the microphone example, one short label beside the intact vertical clip can be more useful than a crop that hides the microphone.
Check the Exported File Before Uploading
Once the framing looks correct, export the video and inspect the saved file.
In Clipchamp, select Export, choose an appropriate resolution, and save the resulting video. The finished video exports as an MP4 file. Microsoft’s export instructions
Check these details in the actual export:
- The picture has the intended horizontal, vertical, or square shape.
- Faces and objects retain their natural proportions.
- Important actions remain visible throughout each shot.
- Titles and captions stay inside the frame.
- Screen-recording text is readable.
- No unexpected borders appear between differently shaped clips.
Inspect the same moments on a phone if mobile viewing matters for your audience.
If borders appear only when the player enters fullscreen, compare the video shape with the screen shape before editing again. A video cannot fill every possible display while also preserving its complete picture and original proportions.
The useful final check is whether the viewer can see everything needed to follow the video. Remove accidental padding, preserve essential details, and accept intentional space when it helps the explanation.