
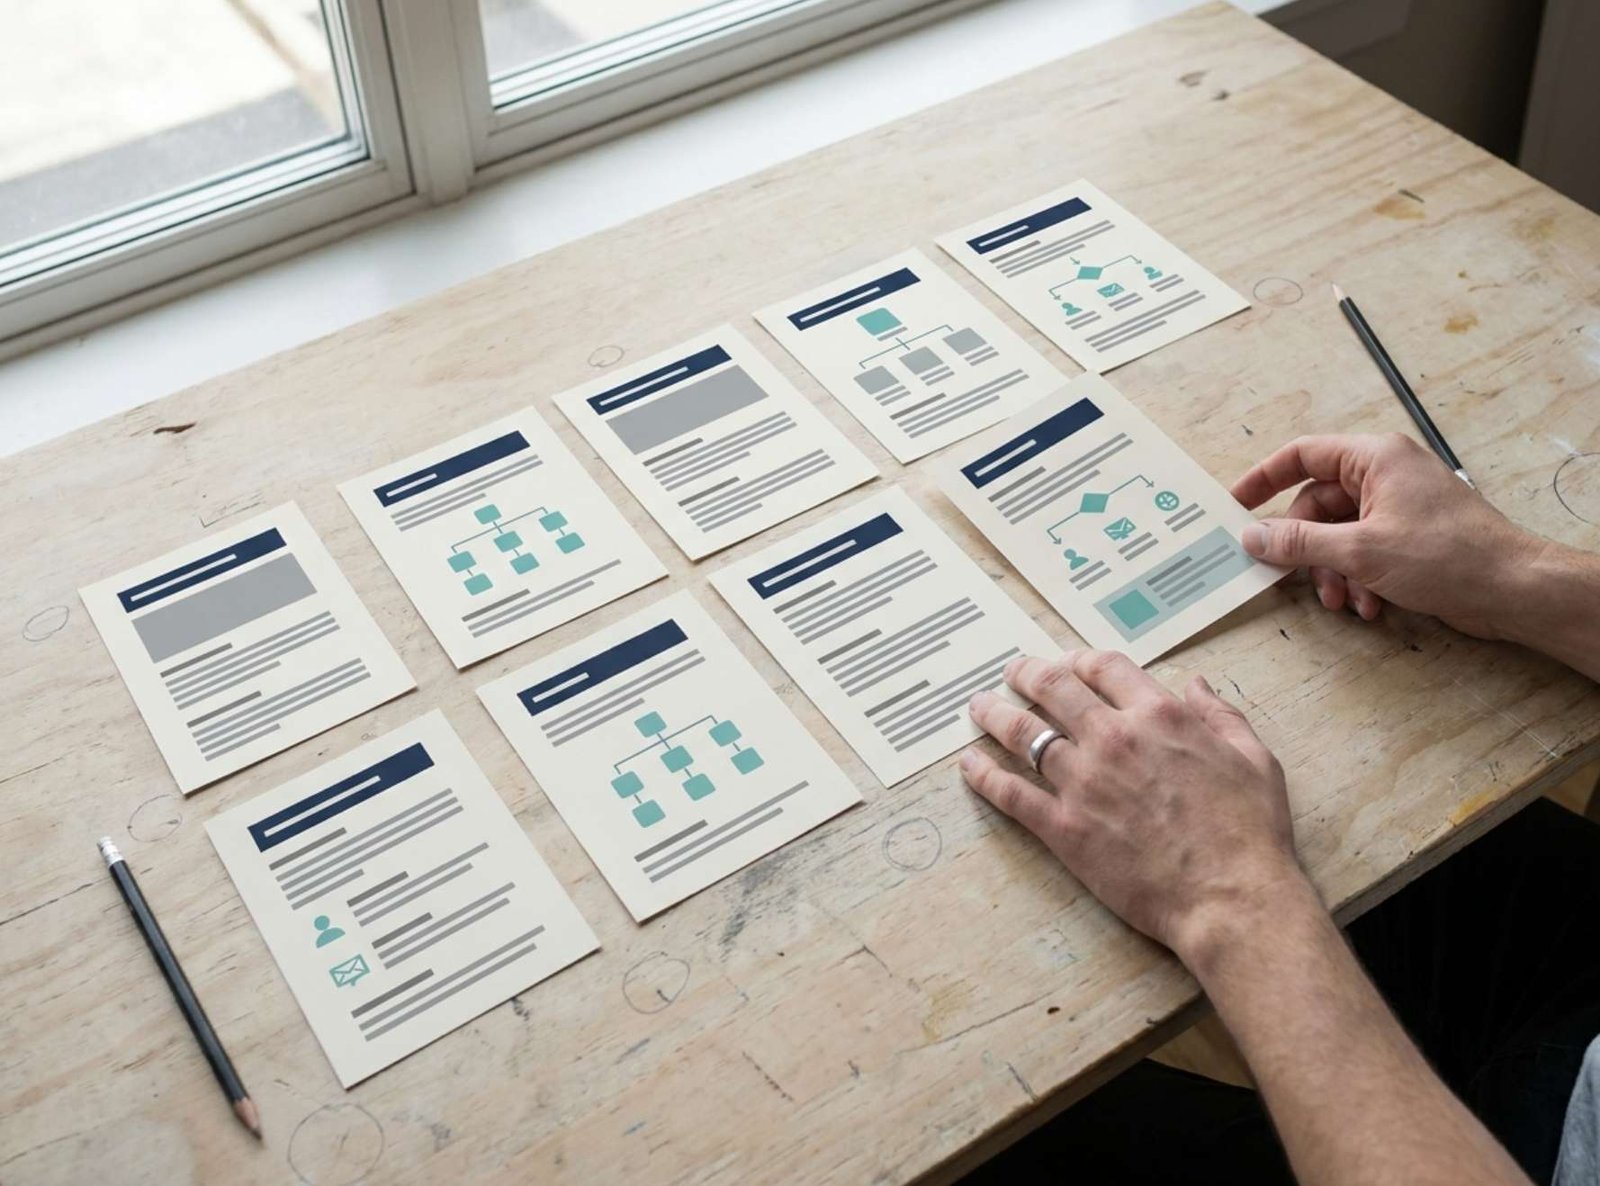
A useful blog article can answer a question in detail, but sharing its headline alone may leave people unsure why they should read it.
A LinkedIn document post gives you space to explain part of the topic through a short sequence of pages. You can introduce a problem, demonstrate a solution, and give readers a checklist they can use immediately.
The challenge is deciding what to include. Copying an entire article into smaller pages usually produces a document that is difficult to read on a phone.
This guide walks through a practical alternative: choosing one useful lesson, building a seven-page document around it, and checking the exported PDF before publishing.
What Is a LinkedIn Document Post?
A document post contains an uploaded file that people can browse within LinkedIn. Creators sometimes call this a “PDF carousel,” although the publishing option is a document upload.
LinkedIn supports PDF, PPT, PPTX, DOC, and DOCX documents. Its current limits include a maximum file size of 100 MB and a maximum length of 300 pages. See LinkedIn’s supported media formats.
Those are technical limits, not targets. For your first educational document, a short sequence is easier to write, review, and maintain.
The example below uses seven pages as an editorial choice. There is no need to add pages when the explanation is already complete.
Step 1: Choose One Question From Your Article
Start with a specific question that matters to your audience.
Suppose your article explains how to find and fix broken links in WordPress. It may cover scanning tools, error codes, redirects, deleted pages, and checking the repairs.
Trying to include all of that would produce a miniature manual.
Instead, choose this narrower question:
What should I check before deciding how to fix a broken link?
That question supports a useful standalone document. Readers can learn the decision process without needing every technical detail from the article.
Write a one-sentence promise before designing anything:
“This document helps website owners decide whether to correct, replace, or remove a broken link.”
Keep that sentence beside your draft. If a page does not help deliver the promise, shorten it or leave it for the full article.
Step 2: Build a Seven-Page Outline
Plan the sequence in plain text first. This prevents the design template from deciding how much content you write.
Here is an example outline:
| Page | Purpose | Example heading |
|---|---|---|
| 1 | Identify the problem | Found a Broken Link? Check These Things First |
| 2 | Establish what failed | Open the Exact Destination |
| 3 | Check the link itself | Is There a Typo in the URL? |
| 4 | Investigate a moved page | Find the Correct Replacement |
| 5 | Handle missing content | Replace or Remove the Link |
| 6 | Verify the repair | Test From the Original Page |
| 7 | Provide a reusable reminder | Your Broken-Link Checklist |
Each page advances the explanation. The reader gets a complete process rather than several unrelated tips.
A common mistake is spending the first three pages announcing that a problem exists. State the problem on the cover, then begin helping on the next page.
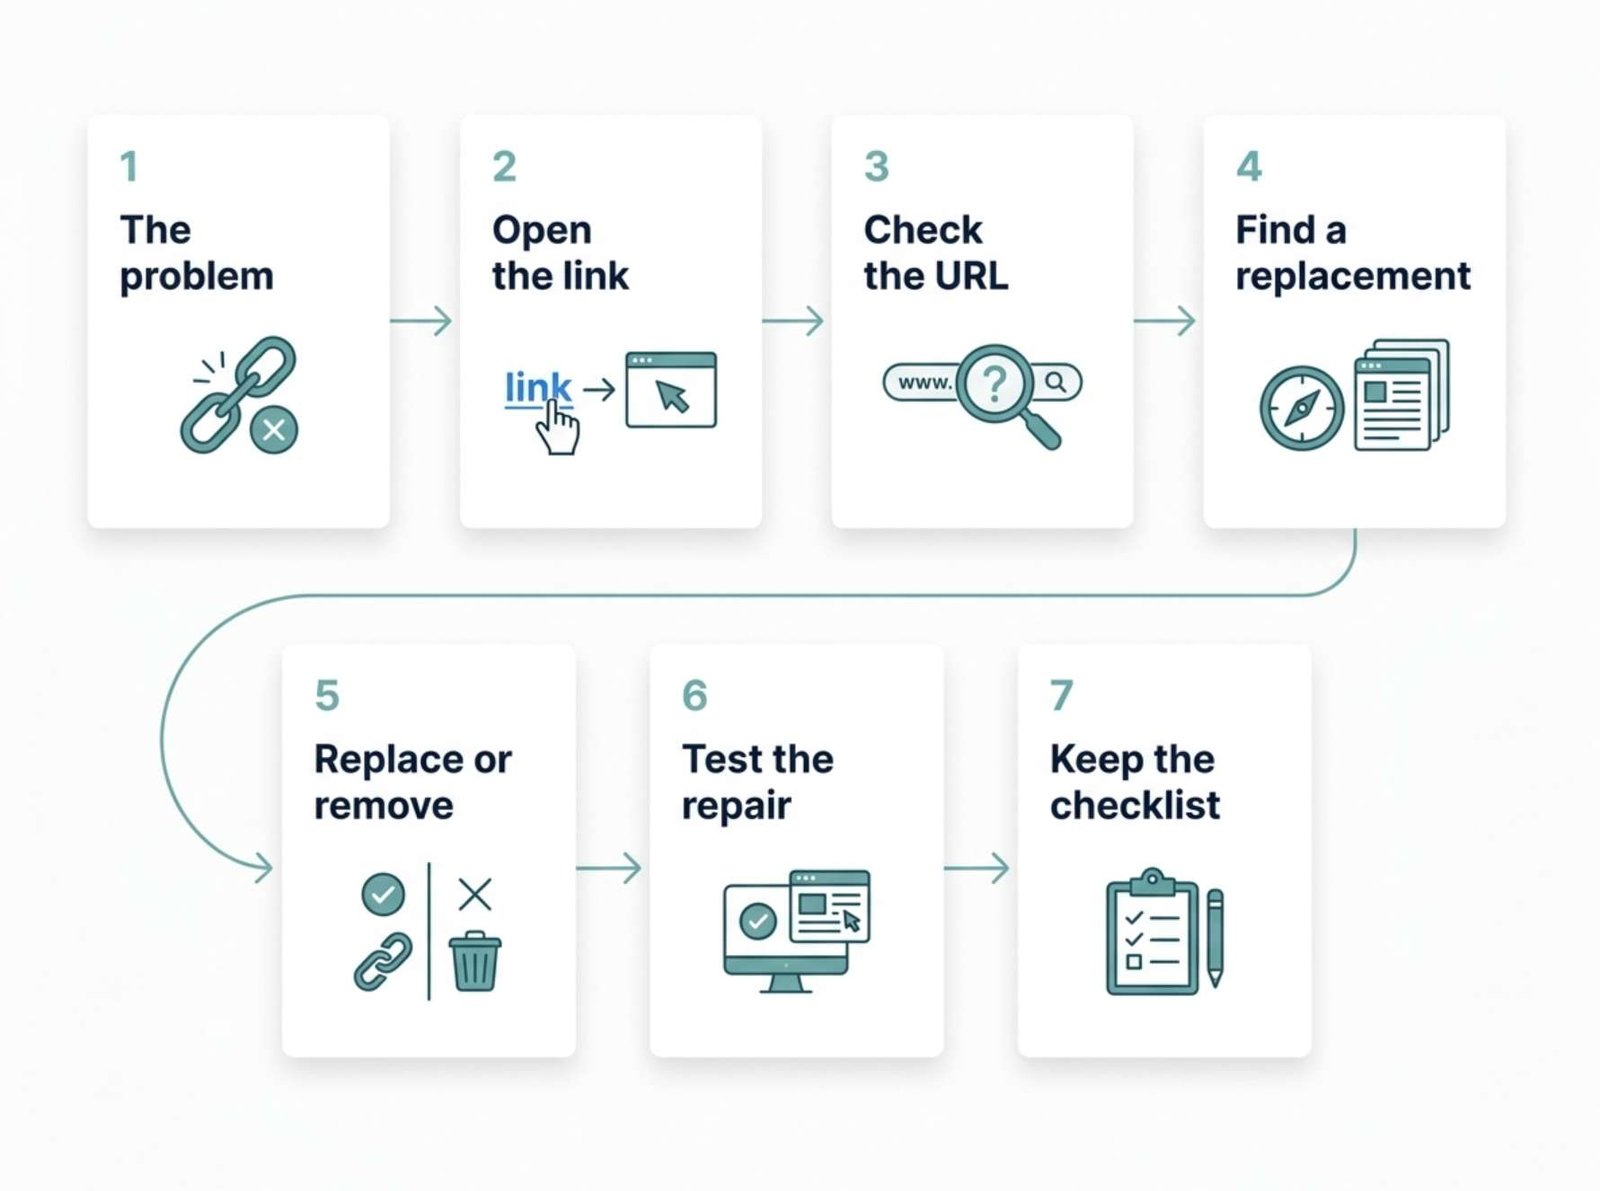
Step 3: Write the Pages Before Styling Them
Use a heading and a short explanation for each page. Add a visual only when it makes the instruction easier to understand.
For the example document, your draft could look like this:
Page 1: Found a Broken Link?
Check the destination before choosing the fix.
A short checklist for website owners.
Page 2: Open the Exact Destination
Click the link from the page where readers encounter it.
Confirm whether the destination is missing, temporarily unavailable, or sending visitors somewhere unexpected.
Page 3: Check for a Typo
Compare the saved link with the intended address.
Look for missing characters, an incorrect path, or punctuation accidentally included in the URL. Correct the link when the intended page still exists.
Page 4: Look for a Replacement
If the original page has moved, find its current location.
Make sure the replacement answers the same question. A working link to an unrelated page does not solve the reader’s problem.
Page 5: Decide What to Remove
If no useful replacement exists, remove the link or revise the surrounding sentence.
If you control the old URL and have a relevant replacement page, consider an appropriate redirect as part of the repair.
Page 6: Test the Reader’s Path
Save the change, reopen the original page, and click the repaired link.
Check both the destination and the words used to describe it.
Page 7: Keep This Checklist
Open the destination. Check the address. Find a relevant replacement. Update the source page. Test again.
For the detailed walkthrough, use the article link in the accompanying post.
This is an illustrative draft. Before publishing your own version, compare every instruction with your source article and check that you have preserved any important conditions.
Step 4: Design for a Phone Screen
Choose a consistent page size and a simple layout.
A portrait canvas such as 1080 × 1350 pixels is one practical design option in tools that use pixel dimensions. It is a starting point for your layout, not a LinkedIn requirement.
Use the same structure throughout:
- A prominent heading near the top.
- One short explanation beneath it.
- A supporting visual where needed.
- A small page number in a consistent position.
Keep branding modest. A large logo on every page takes space away from the explanation.
For a first draft, try limiting most pages to roughly 25–45 words. This is a writing constraint to encourage editing, not a platform rule. If a step needs more space, split it at a meaningful point.
Avoid shrinking the type simply to preserve your original wording.
For example:
Too wordy:
“After making the necessary changes to the hyperlink, it is important to return to the page on which that hyperlink originally appeared and verify its functionality.”
Clearer:
“Reopen the original page and click the repaired link.”
The shorter version gives the reader the same action with less effort.
Step 5: Use Visuals That Explain Something
A document does not need a decorative image on every page.
For the broken-link example, useful visuals might include:
- A simple diagram connecting a source page to a destination.
- Two fictional URL paths showing a missing character.
- A decision chart for correcting, replacing, or removing a link.
- A final checklist with clear text labels.
If you use a screenshot, crop it to the relevant area and make sure the important detail remains readable. A full desktop screenshot reduced to a phone-sized page rarely explains much.
Label recreated interfaces or hypothetical examples clearly. Do not present a designed mockup as a screenshot of a real test.
Use color to support meaning, but include words or symbols as well. A red box and a green box should still make sense to someone who cannot distinguish those colors.
Step 6: Export and Review the Actual PDF
Keep an editable source file, then export a PDF for upload.
Use consistent page dimensions and inspect every exported page. Check for shifted text, missing characters, clipped elements, and unexpected blank pages.
Avoid turning every page into a single image when your authoring tool can preserve text. Selectable text is useful, but it does not by itself make a PDF accessible.
Where your tool supports it, export a tagged PDF and check the reading order. W3C explains that a PDF’s structure affects the sequence in which assistive technology reads its content. See its guidance on PDF reading order.
Also provide the essential lesson in ordinary text, either in the accompanying post or in a linked article.
Now open the exported file on your phone:
- View each page at a normal reading size.
- Check whether you can read the explanation without repeated zooming.
- Look for headings that wrap awkwardly.
- Check the smallest labels and any screenshot text.
- Test the links included in the PDF.
A design that looks clear in your editor may behave differently after export.
Step 7: Write a Caption That Adds Context
The caption should explain who the document helps and what readers will learn.
Avoid repeating the complete document in the post. Give enough context for someone to decide whether it is relevant.
For the example above:
Found a broken link on your website?
Before choosing a fix, check whether the URL contains a typo, the page has moved, or the content is no longer available.
This seven-page checklist walks through the decision and the final test from the reader’s perspective.
If you want to send readers to your blog, add the actual article URL with a clear explanation of what the longer guide contains.
For example:
The full article includes the scanning workflow and detailed repair steps.
Make sure that description matches the article. The document should remain useful even if the reader does not click through.
Step 8: Upload the Document to LinkedIn
LinkedIn’s desktop instructions describe this process:
- Select Start a post.
- Open More and choose Add a document.
- Select your file.
- Enter a document title.
- Select Done and add your post text.
- Review everything before selecting Post.
Interface labels may differ slightly across devices. LinkedIn provides both desktop and mobile steps in its document upload guide.
Use a descriptive document title, such as Broken-Link Repair Checklist for Website Owners. Keep internal filenames and version notes out of that title.
Before publishing, inspect the preview for page order and readability. LinkedIn notes that people who can view the post can download the document as a PDF, so review the file as something readers may keep or share.
What If You Find a Mistake After Publishing?
LinkedIn lets you edit the document’s title and description, but you cannot replace the uploaded document within the existing post. Its document FAQ explains that replacing the file requires a new post.
For a material error, prepare a corrected PDF and decide whether to remove the inaccurate post before publishing the replacement.
Keep your editable source file and use clear version names. This makes later updates easier when the underlying article changes.
Review Results Without Guessing
Choose what you want the post to accomplish before judging it.
If your goal is discussion, review the questions and comments. If your goal is article readership, use your website analytics to examine visits from the shared link.
LinkedIn distinguishes between impressions—the number of times content was shown—and members reached, which estimates distinct viewers. Neither metric proves that someone read every page. See LinkedIn’s post analytics definitions.
Record one lesson for your next document. Perhaps the opening question was too broad, a diagram needed clearer labels, or comments revealed a missing explanation.
A useful document post gives readers a complete small lesson. Start with one question, make each page advance the answer, and check the finished PDF with the same care you give the original article.