
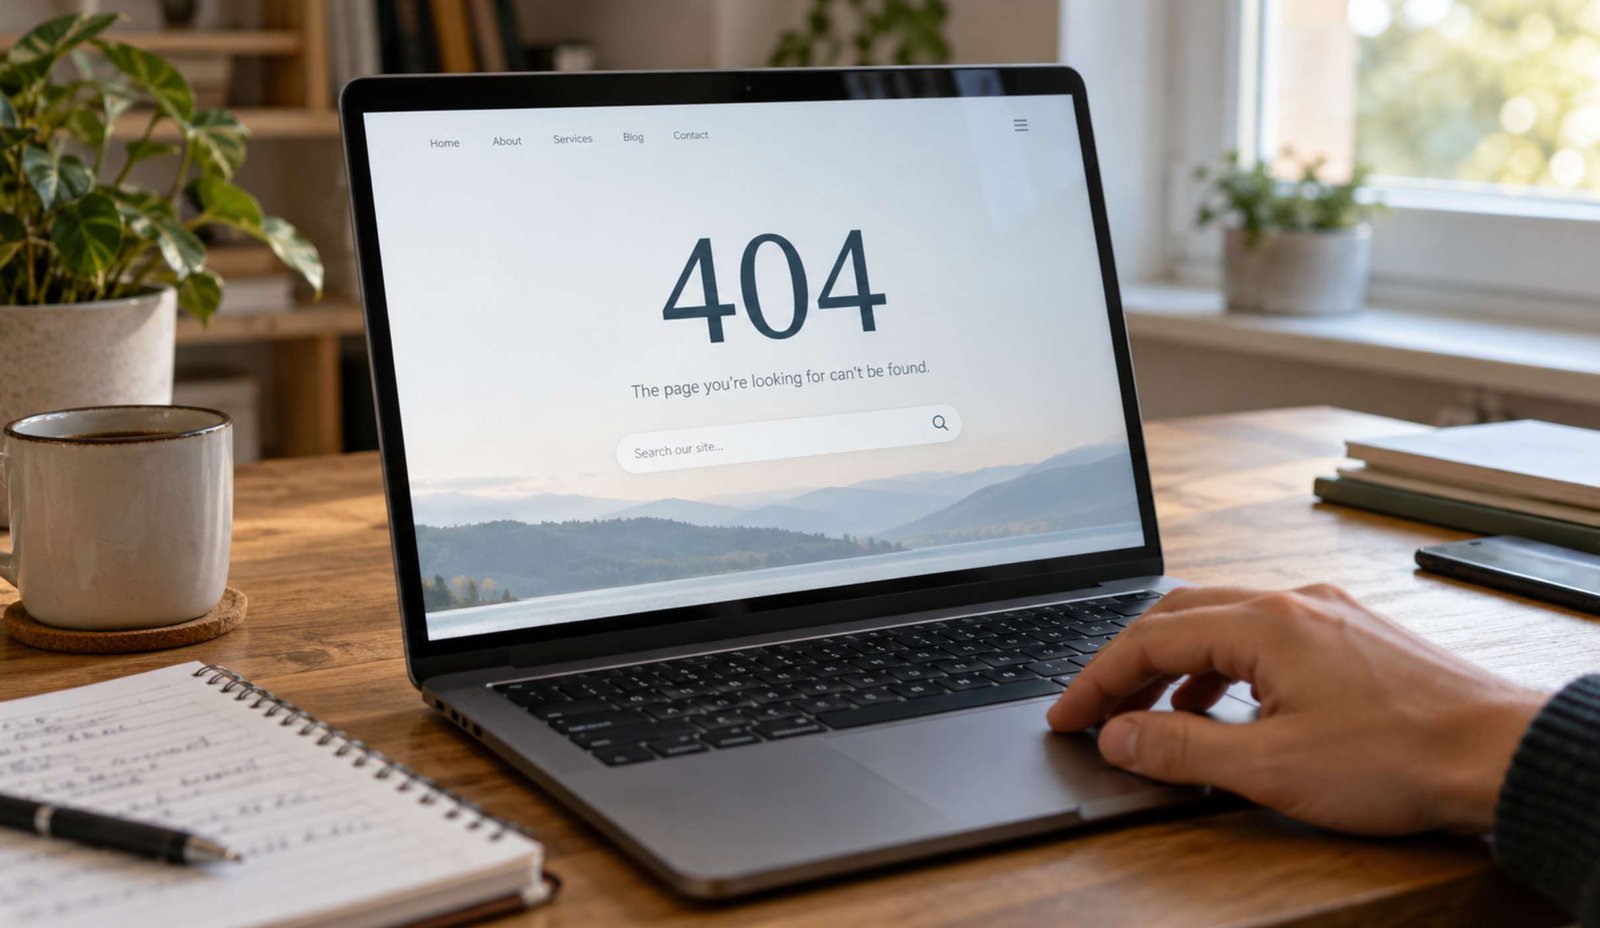
A reader reaches an important step in your tutorial, clicks the recommended resource, and lands on a page that no longer exists.
The problem might be a typing mistake, an article you moved, or an external website that reorganized its documentation. Each situation needs a different repair.
This guide explains how to find broken links, locate the pages containing them, and choose between updating a link, restoring content, creating a redirect, or removing an outdated reference.
The examples use fictional paths. Replace them with the actual addresses from your website.
1. Identify What Is Actually Broken
A broken link and a missing page are related, but they are not the same thing.
The source page contains the link. The destination URL is the address that link opens.
For example:
- Source page:
/beginner-video-guide/ - Linked text: “download the recording checklist”
- Destination:
/downloads/recording-checklist.pdf
If the PDF has been deleted, the destination is missing. The repair may require uploading the correct file or changing the link in the guide.
Keep both addresses in your notes. A list of failed destinations alone does not tell you where to edit your content.
Also distinguish the type of failure:
| What you find | What to investigate |
|---|---|
| 404 Not Found | A missing resource, incorrect address, or routing problem |
| 403 Forbidden | Access restrictions or a request blocked by the destination |
| 500 or 503 error | A server problem that may be temporary |
| Redirect to another page | Whether the final destination is relevant and working |
| Page opens but the information is gone | An outdated or misleading reference |
These status codes describe different responses from the server. Google’s HTTP status documentation explains the distinctions.
Do not delete every link a checker flags. Open the destination and investigate first.
2. Start with Links Readers Are Most Likely to Use
For a small WordPress site, begin with a manual review of important pages.
Check:
- The main navigation and footer.
- Homepage buttons and featured content.
- Links in your most useful tutorials.
- Download buttons.
- Contact and other essential information pages.
- Sidebar widgets and reusable content blocks.
Open these pages while logged out, or use a private browsing window. A link to a draft may appear usable to an administrator while remaining unavailable to visitors.
Click the actual link rather than typing the address you think it contains. This catches mistakes in the saved destination.
When the destination opens, check its meaning as well as its availability. A link labeled “image export instructions” should lead to those instructions, not a general product homepage.
Record problems in a simple table:
| Source page | Link text | Destination problem | Planned repair |
|---|---|---|---|
| Video guide | Recording checklist | PDF missing | Upload replacement and update link |
| Image tutorial | Export instructions | Documentation moved | Link to the current official guide |
| Footer | Contact | Incorrect address | Correct the footer link |
This gives you a practical repair list before you use any scanning tool.
3. Use a Crawler to Find the Source of Broken Links
For a larger collection of posts, a crawler can discover links and check their responses.
One option is the desktop application Screaming Frog SEO Spider. Its free version currently crawls up to 500 URLs; that limit refers to URLs, not simply the number of published articles.
Follow this workflow:
- Enter your site’s homepage address and start the crawl.
- Open Response Codes.
- Select Client Error (4XX).
- Select a failed destination.
- Open the lower Inlinks tab.
- Read From to find the page containing the link and To to identify its destination.
For a repair list, use Bulk Export → Response Codes → Client Error (4XX) Inlinks.
These controls are covered in the developer’s broken-link checking tutorial.
Check the actual status of each result: a 403 is not a 404. Review flagged links in your browser before deciding what to change.
A crawl is not proof that every link on your site works. If it reaches a limit or cannot access part of the site, record that limitation.
For your first review, keep the scope manageable: finish investigating one group of results before starting another scan.
4. Use Search Console as an Additional Source
If your site is already verified in Google Search Console, open Indexing → Pages and look under Why pages aren’t indexed for Not found (404).
Open the issue to review example URLs. Search Console’s examples are limited and are not a complete inventory of every broken link.
It is also not an outbound-link checker for the external resources mentioned in your articles. Use it to investigate URLs on your own property.
A reported URL may reflect an earlier crawl. Inspect the address and use Test live URL when appropriate to check its current state.
Google explains these controls and limitations in the Page indexing report documentation.
Compare these findings with your manual review and crawl. An old address in Search Console might still be linked from another website even after you have corrected all references on your own pages.
5. Choose the Repair That Matches the Cause
Use the reader’s intended destination to guide the decision.
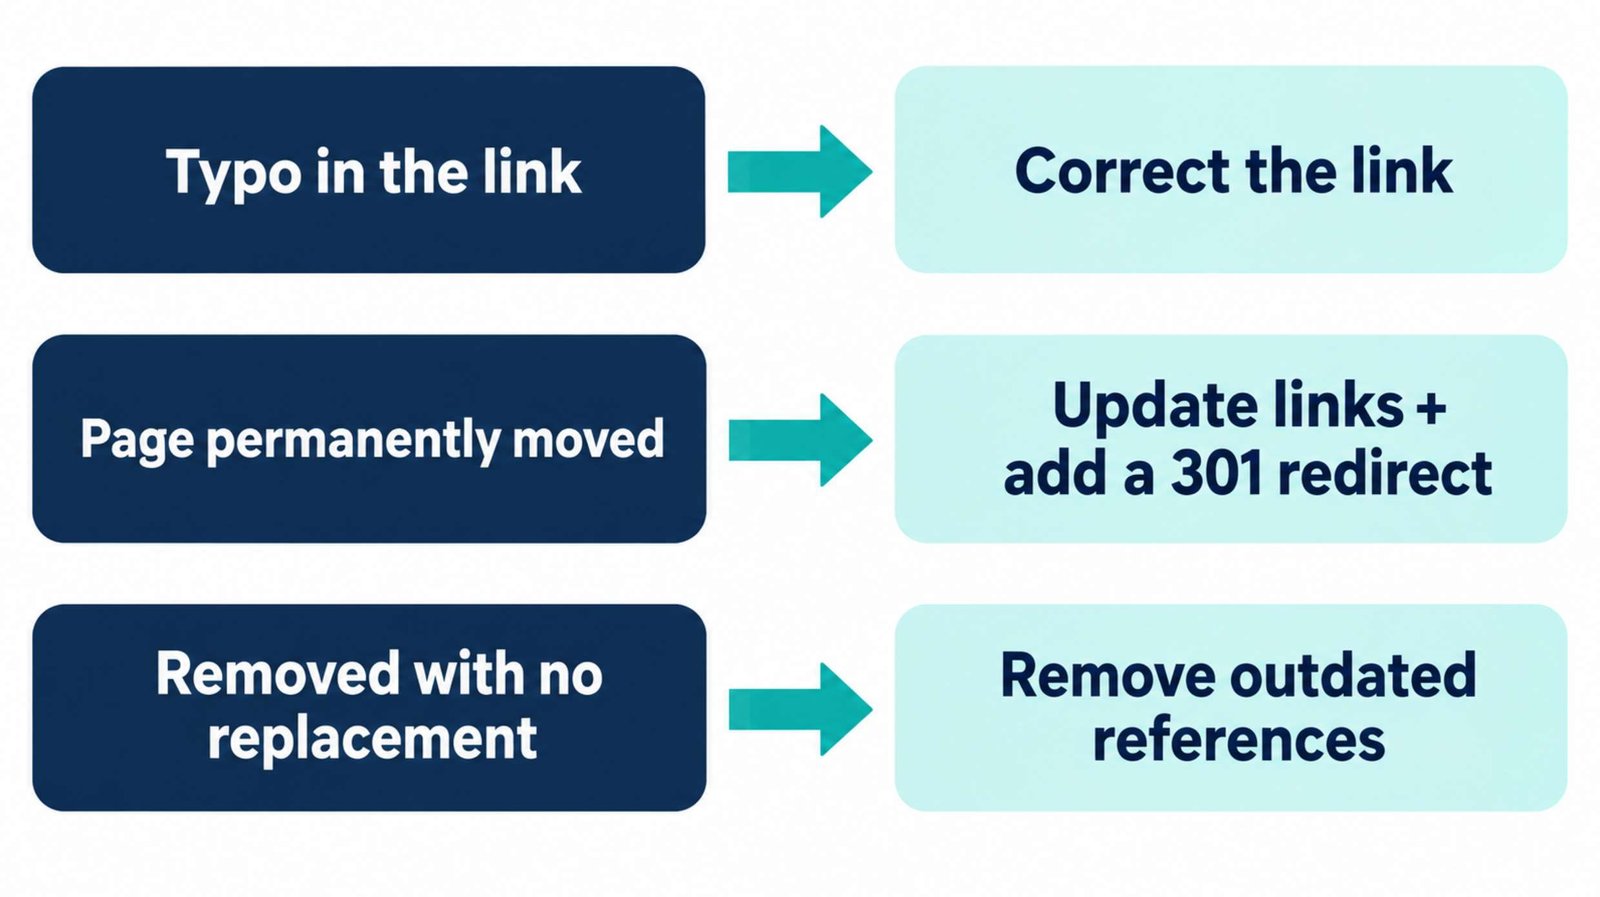
| Situation | Appropriate repair |
|---|---|
| The link contains a typo | Correct the link where it appears |
| A useful page was accidentally removed | Restore the intended content |
| Your article permanently moved | Redirect the old address and update internal links |
| An external source moved | Replace the link with its verified current address |
| Content was removed with no suitable replacement | Remove or rewrite references to it |
| The destination has a temporary server error | Recheck and investigate before replacing it |
A typo in an internal link
Suppose the correct page is:
/microphone-placement/
But one article links to:
/microphone-placment/
Correct the source link. Do not rename the working article to match the typo.
If the incorrect address has also been widely shared, a redirect may help those visitors, but the links you control should still point directly to the correct page.
A moved article
Suppose an older tutorial at /recording-guide/ has moved to /screen-recording-guide/ and the new page serves the same purpose.
Update internal references and redirect the old address to the new one.
A removed resource
If you deleted an obsolete download and have no equivalent replacement, remove the download link and revise the sentence that introduced it.
Leaving “Download the checklist below” without a working download creates an unfinished instruction.
A missing page can legitimately return 404 when it has been removed without a replacement. The goal is useful navigation, not eliminating every historical missing URL.
6. Edit the Link in the Correct WordPress Location
For a link inside a post or page:
- Open the source post in the editor.
- Select the linked text.
- Choose the link’s edit control.
- Replace the destination with the verified address.
- Apply the change and save or update the post.
WordPress provides edit, remove, copy, and open options in its link control. It checks URL formatting, but does not confirm that a destination exists. See the official link editing documentation.
If you remove a link, reread the surrounding sentence. You may also need to remove wording such as “see this guide.”
When the same broken link appears on many pages, check whether it belongs to a shared element:
- A navigation menu.
- A footer template.
- A sidebar widget.
- A synced pattern.
- A theme or page-builder component.
Edit that shared element rather than searching for the same link in every article.
For example, if a footer contact link is wrong across the site, correcting individual posts will not repair it. The footer is the source you need to change.
After saving, open a page that displays the shared element and test the link there.
7. Add a Redirect When Your Content Has Permanently Moved
A permanent redirect sends visitors from an old address to its replacement.
Google recommends a permanent server-side redirect where possible for a lasting move; 301 and 308 are permanent redirect status codes. See its redirect guidance.
First check whether your site already manages redirects through a plugin or hosting control panel. Avoid creating competing rules for the same address in several places.
One WordPress option is the Redirection plugin, which provides its settings under Tools → Redirection after activation and setup.
For a simple moved article:
- Open the plugin’s Redirects section.
- Find the form for adding a redirect.
- Enter the old path as the Source URL.
- Enter the replacement address as the Target URL.
- Confirm the HTTP code is 301 for a permanent move.
- Save the rule.
For example:
| Field | Illustrative value |
|---|---|
| Source URL | /old-recording-guide/ |
| Target URL | /screen-recording-guide/ |
| HTTP code | 301 |
The source is generally relative to the WordPress site where the plugin is installed. Advanced options, including the HTTP code, are available through the form’s settings control. See the developer’s redirect creation instructions.
Use a rule for the specific path in this example. Leave regular-expression matching disabled unless you intentionally need a broader pattern.
Before saving, verify that the target opens correctly and does not redirect back to the source.
Do not send every missing page to the homepage. Someone following a detailed recording tutorial is unlikely to find the promised next step there. Choose a replacement that satisfies the same need, or leave the removed resource unavailable and repair the references to it.
8. Replace External Sources Carefully
You cannot repair another website’s missing page with a redirect on your own WordPress site. You can change where your article sends readers.
When an external resource disappears:
- Search the original publisher’s website for the topic.
- Open the likely replacement.
- Read the section relevant to your article.
- Confirm that it supports the claim or instruction.
- Update the link and revise your wording if necessary.
A matching title does not guarantee matching information.
Suppose your article links to documentation describing a feature included in a free plan. The replacement guide may describe a paid feature or a different version of the product.
Changing the URL while preserving the old claim would leave the article inaccurate.
For a source that cannot be replaced, decide whether the unsupported statement should be removed, qualified, or rewritten using other reliable evidence.
Also check whether the destination has changed ownership or subject. A page can load successfully while no longer being a suitable reference.
9. Test the Repair from the Reader’s Starting Point
Do not stop after saving a new URL.
Return to the source page and click the link as a visitor would. Confirm that:
- The intended destination opens.
- Visitors do not need your administrator session.
- The link text describes what they receive.
- Downloads contain the expected file.
- The surrounding instructions still make sense.
For a redirect, test the old address separately. Then test the updated link on the source page, which should point directly to the current destination.
Clear the relevant site cache if a saved change is not appearing.
If several healthy pages suddenly return errors after a plugin or server change, investigate that shared cause before adding individual redirects. A widespread routing problem needs a different repair from one mistyped link.
Search Console can take time to reflect changes. Its documentation notes that reports depend on crawl information; an unchanged report immediately after your edit does not prove that the repair failed.
10. Make Link Checks Part of Content Maintenance
Add a brief link review to your publishing routine.
Before publishing a new article, open its links from the preview and check that each destination supports the surrounding text.
After moving or removing a page, review the places that refer to it. After changing navigation, test the affected menu on desktop and mobile.
For ongoing maintenance, choose a schedule suited to how often your content changes. A monthly review can be a reasonable starting point for a small, regularly updated blog; it is not a universal requirement.
Record the source page, the repair, and the date checked. This makes it easier to distinguish a new failure from an unresolved older one.
A repair is complete when readers can follow the link and reach the information or action they were promised.