
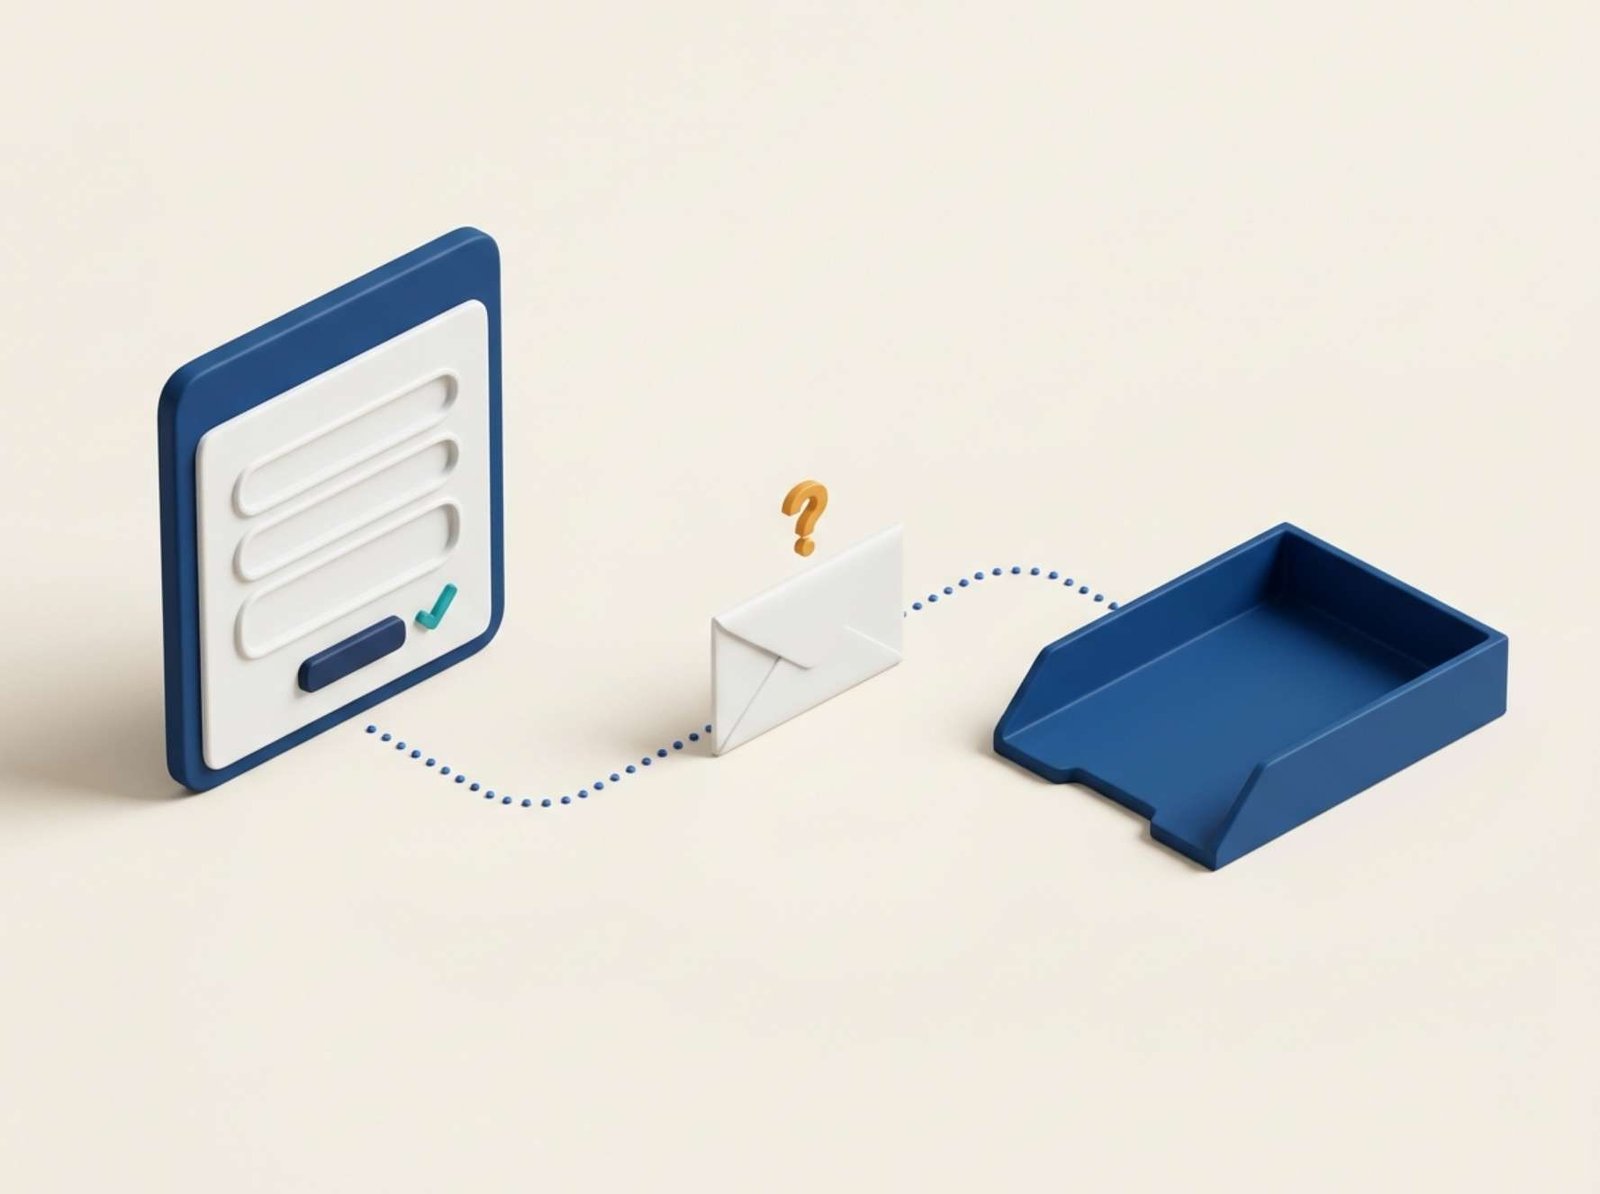
You open your website’s contact page, enter a message, and press Send. A confirmation appears.
The form seems to work.
But the inbox stays empty—and a visitor who encounters the same problem may never know that their message went missing.
A useful contact-form test follows the message beyond the confirmation screen. It checks whether the right mailbox receives the content and whether clicking Reply addresses the person who submitted it.
This guide uses Contact Form 7 for the settings example. The testing approach also applies to other WordPress form plugins.
Follow One Identifiable Message
Start with the public contact page while logged out of WordPress. Use an email address you control as the visitor’s address.
Submit a short message with a distinctive reference, such as:
Contact form test CF-101. Please confirm that this complete sentence reaches the intended inbox.
If the form has a subject field, put CF-101 there too. Record the submission time and time zone, along with the response displayed on the page.
A unique reference helps you distinguish this submission from earlier tests. Use a new reference after each change.
Now check the intended mailbox, including spam, junk, and any folders affected by filtering rules. Search for the reference instead of relying only on unread messages.
If the message arrives, open it and check the visitor’s name, email address, subject, and message body. Then click Reply and inspect the destination before sending a response to your own test address.
This single exercise checks three separate things:
- The public form accepts a valid submission.
- The notification reaches the intended mailbox with the expected content.
- The reply is addressed to the visitor.
A successful test confirms that particular attempt. It does not establish that every future message will arrive.
Understand What the Confirmation Actually Means
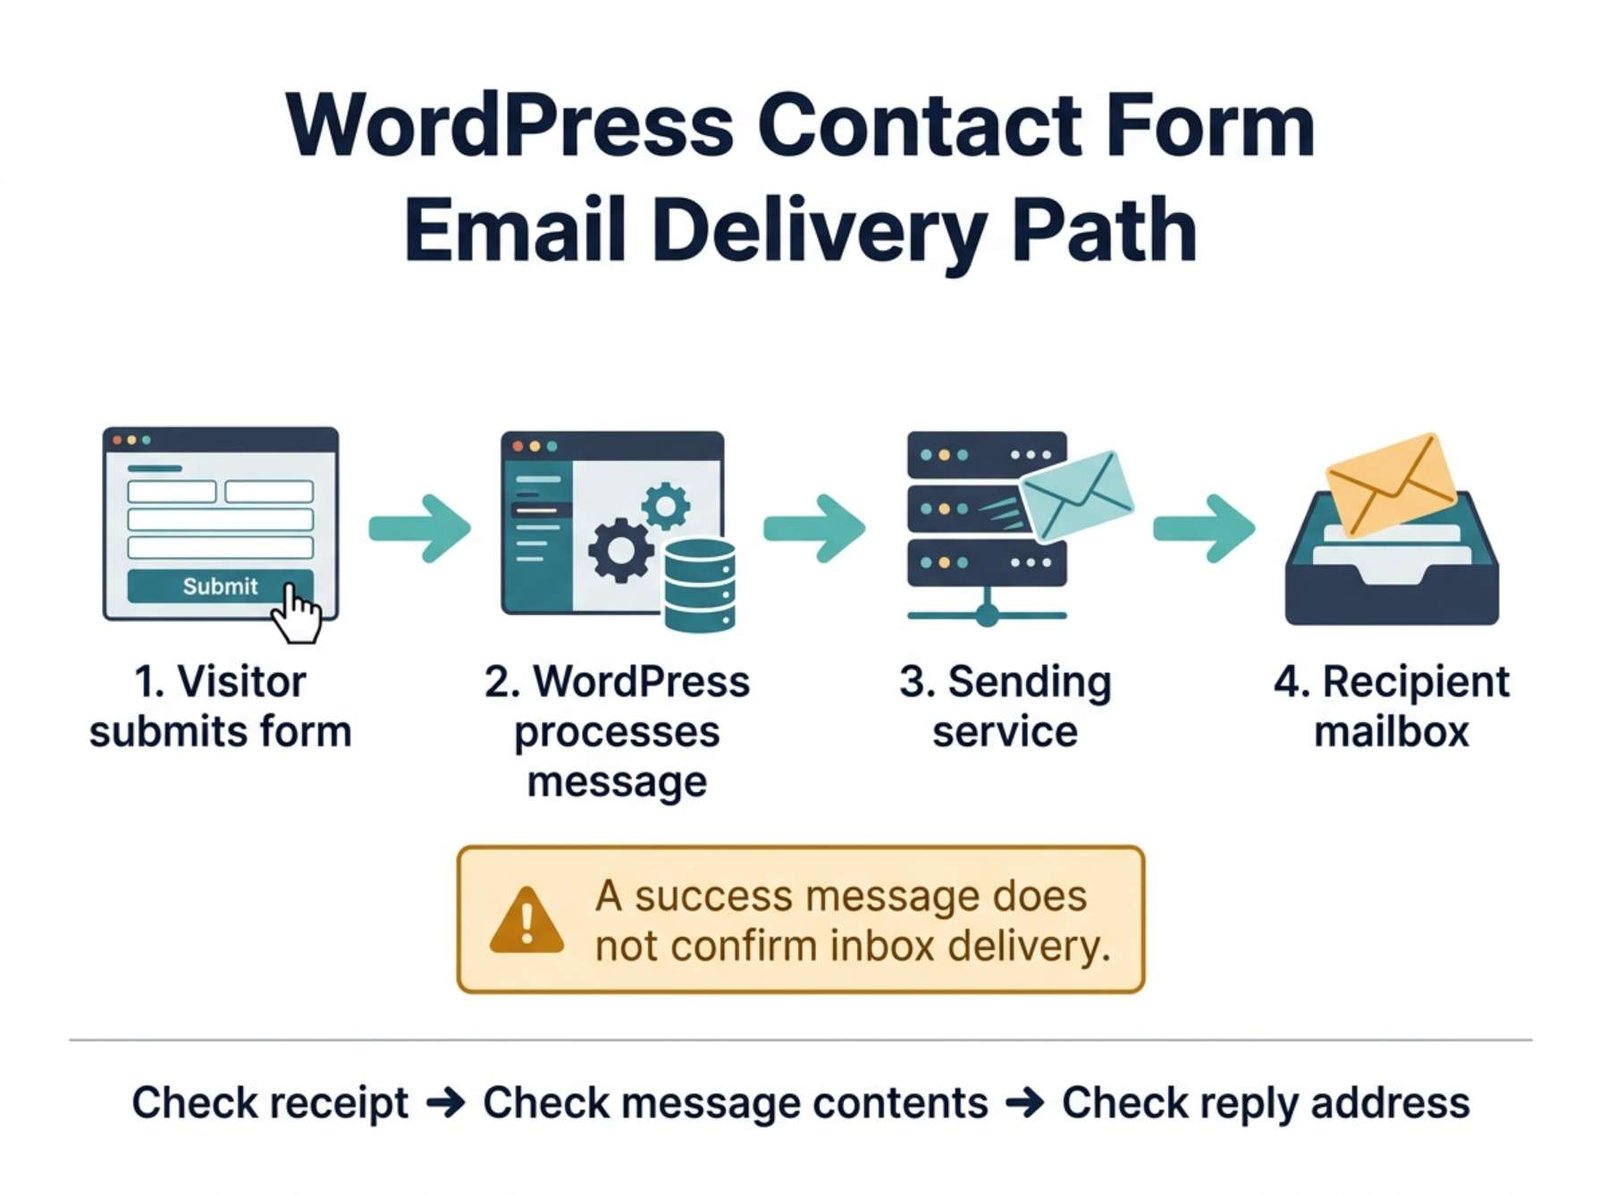
WordPress’s email-sending function can report success without confirming that the recipient received the email. Its documentation explicitly makes that distinction. See the WordPress explanation of email-sending results.
Think of the journey as several stages:
Form submission → WordPress processes the message → sending service handles it → recipient’s mail system handles it → message appears in a mailbox
A problem can occur after the website has completed its part.
For Contact Form 7, the official FAQ likewise explains that a success response can appear even when the message is subsequently filtered or otherwise fails to reach the recipient. Read Contact Form 7’s delivery troubleshooting guidance.
That is why changing the confirmation text or redesigning the form will not necessarily solve a delivery problem.
Use the evidence from your test to choose the next investigation:
| What you observe | Where to investigate next |
|---|---|
| Required fields are rejected | Field validation and the values entered |
| Submission spins indefinitely or shows an error | Form processing, spam protection, or a possible site conflict |
| Success appears, but no message is found | Recipient settings and the email delivery path |
| The message arrives with missing information | The form’s notification template |
| The message arrives, but Reply targets your website address | The Reply-To setting |
These are starting points, not final diagnoses.
Check the Three Addresses in Contact Form 7
In WordPress, open Contact → Contact Forms, select the form used on your contact page, and open its Mail tab.
Before changing anything, save a copy or screenshot of the current settings.
Three fields have different jobs:
To is the destination for the notification. Confirm that it resolves to the mailbox you actually monitor. If it contains a placeholder or special mail-tag, check the address that produces.
From identifies the sender of the notification. Contact Form 7 recommends an address on your website’s domain.
Reply-To tells your mail application where a reply should go. For a contact form, this is normally the visitor’s email address.
Here is an illustrative configuration for a site at example.com. Replace the example addresses with your own configured addresses; do not paste them unchanged.
| Mail setting | Example |
|---|---|
| To | contact@example.com |
| From | Example Website <website@example.com> |
| Subject | Website enquiry: [your-subject] |
| Additional headers | Reply-To: [your-email] |
The From address must be appropriate for the mail service sending your messages. Simply typing an address does not create a mailbox or authorize a service to send from it.
Avoid placing the visitor’s address directly in From. Your website generally is not authorized to send as an arbitrary visitor’s Gmail, Yahoo, or other address. Contact Form 7 explains why using your own domain and a separate Reply-To field is preferable. See its mail configuration recommendations.
Also verify that [your-email] and [your-subject] match the actual fields in your form. If your email field has a different name, use that name in the corresponding mail-tag. Omit or replace the subject tag if your form has no subject field.
A configuration check is useful, but it is not a delivery test. Contact Form 7’s validator checks configuration syntax without sending a real message. The developer explains the validator’s scope here.
Save the changes and repeat the public-form test.
Separate a Form Problem from a Mail-Service Problem
If the form settings look correct, check how the website sends email.
You may already have a configured mail plugin or a hosting-provided sending service. Inspect that setup before installing another plugin that controls the same function.
For example, if your site uses WP Mail SMTP, open WP Mail SMTP → Tools → Email Test and send a test to the same mailbox that should receive your contact-form notifications. Check the mailbox itself, not just the plugin’s result screen. See the official email-test instructions.
Then compare the two results.
If the mail-plugin test arrives but the contact-form notification does not, return to the form-specific settings. Confirm the recipient, sender, mail-tags, and whether spam protection blocked the submission.
If neither arrives, investigate the sending connection and recipient handling. An explicit connection or authentication error is more useful than another unexplained test submission.
Installing a mail plugin alone is not a completed setup. The selected mail service still needs its required connection details and sender authorization. WP Mail SMTP’s troubleshooting documentation also identifies incomplete configuration and conflicting mail plugins as possible causes. Read its troubleshooting guide.
Follow the instructions for your actual provider. There is no universal set of server credentials or domain records that can be copied into every WordPress installation.
Give Support Something Specific to Trace
If the message is still missing, prepare a compact record for your hosting or email provider:
- The test reference and exact submission time, including time zone.
- The sender and recipient addresses.
- The response shown on the contact page.
- Whether a separate mail-plugin test arrived.
- Any error code or message identifier available.
Ask whether the sending system recorded that attempt and what happened next: rejection, deferral, acceptance by the receiving server, or another status.
Even a provider status labelled “delivered” needs context. Check what the provider means by it; acceptance by a receiving mail server is not necessarily confirmation of inbox placement.
Avoid changing several settings between tests. If you alter the recipient, sender, and sending service simultaneously, it becomes difficult to determine which change affected the result.
Decide Whether You Need a Saved Submission Record
Contact Form 7 does not store submitted messages by default. If email delivery fails, you should not assume the message will be waiting somewhere in WordPress.
The same developer offers Flamingo for storing submissions. Contact Form 7 documents this option in its FAQ.
Stored submissions can provide another place to check incoming enquiries, but storage and email delivery are different functions. Installing storage later will not recover messages that were never saved.
If you enable it, decide who needs access and how long enquiries should be retained. Your website’s description of how it handles contact information should match that actual setup.
Finally, repeat the complete visitor test: submit a new reference, receive the notification, inspect its contents, and reply to your own test address. Repeat after changes to the form, hosting, or sending service.
The meaningful result is a completed conversation: the visitor’s message reaches you, and your response can reach them.