
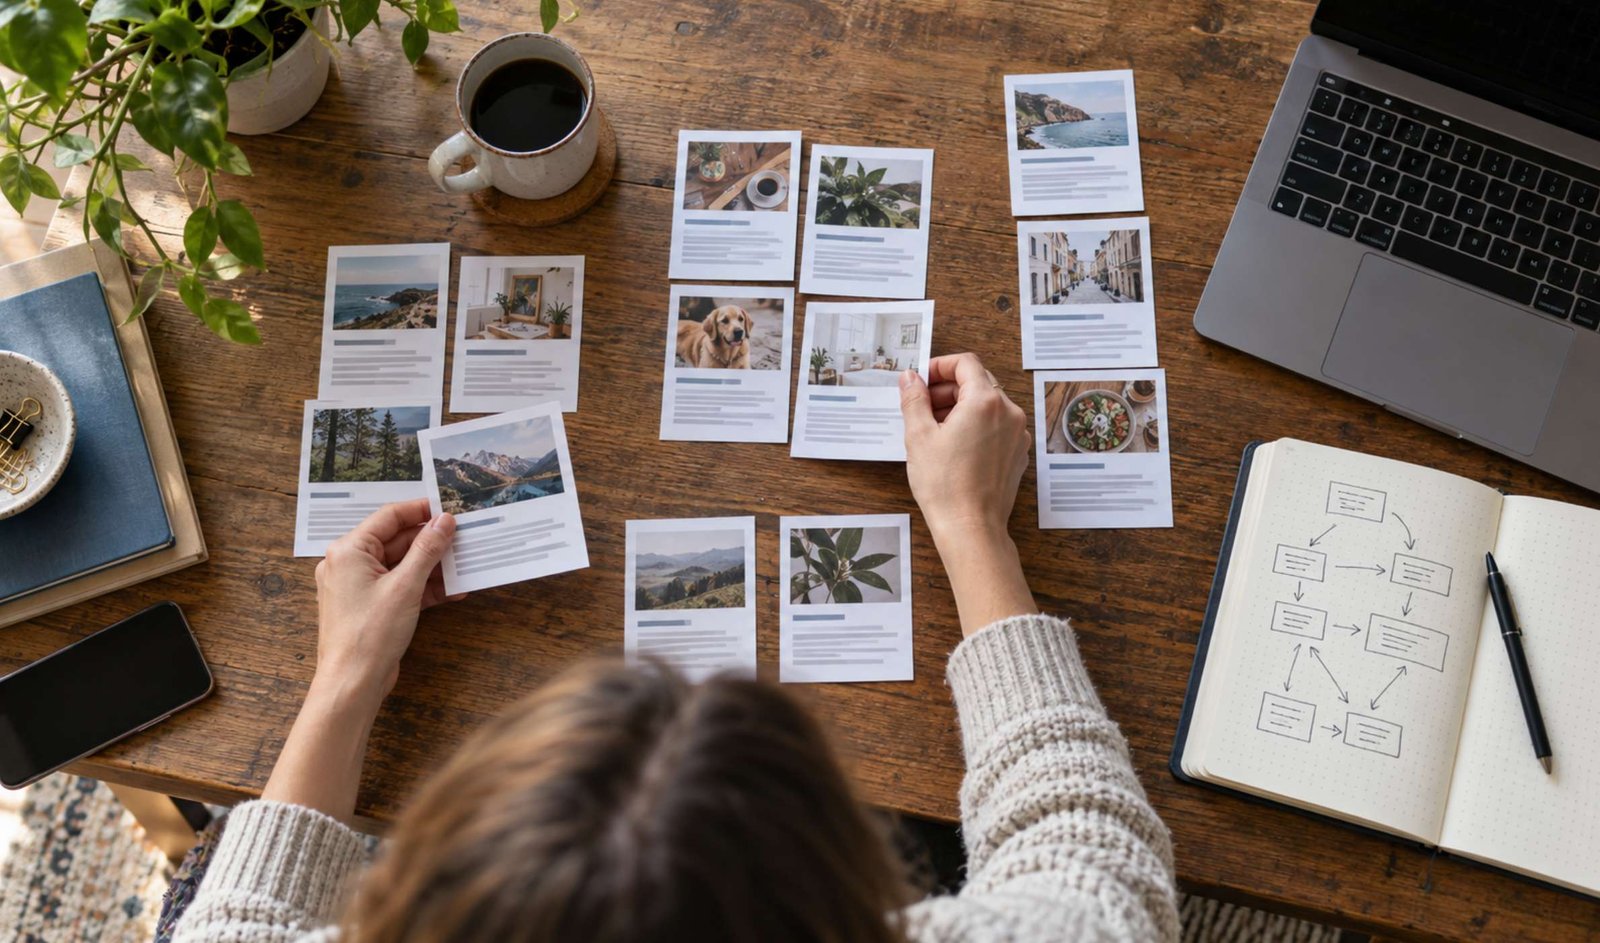
Someone finishes reading an article on your blog and has a related question. You have already answered it in another post, but the reader does not know that article exists.
A useful internal link connects those two moments.
Internal links point from one page on your website to another page on the same site. They can appear in navigation menus, category listings, related-reading sections, or ordinary sentences inside an article.
This guide focuses on links inside blog posts. You will learn how to choose relevant destinations, add links in the WordPress block editor, and check that they work for visitors.
You can complete this workflow with WordPress’s built-in editing tools. The examples describe a small educational blog; replace the sample article titles with relevant published content from your own site.
1. Choose the Destination Before Editing the Sentence
Start with the reader’s next question.
Suppose you are writing a tutorial about replacing a WordPress theme. Before following the instructions, a beginner may need to know how to back up the site.
A link to a backup guide serves a clear purpose at that point.
By contrast, linking to an unrelated social media article simply because it is your newest post would interrupt the explanation.
For each possible link, finish this sentence:
This page helps the reader because…
If you cannot give a specific answer, leave the link out.
Useful reasons include:
- Explaining a prerequisite.
- Defining an unfamiliar concept in more detail.
- Showing a separate procedure needed for the task.
- Helping readers choose between relevant options.
- Offering a logical next step after the current tutorial.
Build a small plan before adding links:
| Current article | Reader’s likely question | Relevant destination |
|---|---|---|
| Changing a WordPress theme | How do I preserve the current site? | A backup and recovery guide |
| Preparing images for a blog | How do I compare AI image tools? | An image-generator evaluation guide |
| Publishing a software tutorial | How do I record the demonstration clearly? | A screen-recording guide |
| Promoting an article | How do I measure visits from social posts? | A social traffic tracking guide |
These are editorial examples, not a requirement to connect every topic.
Category boundaries do not have to prevent a useful link. A WordPress article can link to a video tutorial when that tutorial answers a genuine question raised by the text.
2. Write Link Text That Explains the Destination
The visible words in a link are called its anchor text.
Good link text gives readers a reasonable idea of what will open. Google recommends descriptive, concise wording that fits both the surrounding content and the destination in its link best practices.
Consider these examples:
| Vague wording | More informative wording |
|---|---|
| Click here | Create a WordPress backup |
| Read this | Compare AI image generators |
| Another useful article | Record readable screen tutorials |
| Learn more | Track visits from social media |
The examples in this table are proposed link labels, not live links.
You do not always need to use the destination’s full title. A shorter phrase can work naturally inside a sentence.
For example:
Before replacing your theme, create a backup you can restore.
The bold phrase indicates the words you would turn into a link.
Keep the promise accurate. If the destination explains image compression, do not label it “Fix every WordPress speed problem.”
Clear link wording also supports accessibility. The W3C explains that users should be able to understand a link’s purpose from its text or associated context in its link-purpose guidance.
3. Add the Link in the WordPress Block Editor
Open the post you want to edit and find the sentence where the link belongs.
Then:
- Select the words that should become the link.
- Click the link icon, or press Ctrl+K on Windows or Command+K on Mac.
- Search for the destination post by title, or paste its public URL.
- Select the correct result and confirm the link.
- Save the post.
WordPress documents these options in its Link control guide.
Check the result carefully when several articles have similar titles. “WordPress image optimization” and “Choosing images for WordPress” might describe different tasks.
The block editor also offers a shortcut for finding existing content: type [[ to display post and page suggestions. WordPress explains this in its guide to working with blocks.
Use whichever method makes it easiest to choose the correct destination.
To change an existing link, select the linked text and use the edit option in the link preview. Replace the address, confirm the change, and save again.
You do not need to recreate the entire paragraph.
4. Use the Public Article Address
An internal link should take a visitor to the published page.
It should not point to:
- A WordPress administration screen.
- An editor URL.
- A draft preview.
- A private post that ordinary visitors cannot access.
- A local development or staging site.
This mistake can be easy to miss when you are logged in. An address may open correctly for you because your account has permission to view it.
For example, an address containing /wp-admin/ normally belongs to the administration area. It is not the address you should give readers as a link to an article.
The public address of a post is its permalink. WordPress describes permalinks and where to find them in the post settings documentation.
If you are unsure, open the published article through the site’s public interface and copy its address.
Keep the full public URL when pasting it into the editor. There is no need to shorten it through an external service.
Before linking to a planned article, wait until it is published and available. A guessed future address can leave readers facing an error page.
5. Put the Link Where the Reader Needs It
A relevant destination can still be poorly placed.
Imagine an article that gives ten steps for changing a theme and only mentions the backup guide after the final step. The information arrived too late for someone following along.
Place prerequisite links before the dependent action.
Place deeper explanations beside the concept they clarify.
Place optional next steps after the reader has completed the current task.
Here is an example of a paragraph with a clear linking opportunity:
Before changing the theme, save a recovery copy of your site. If you have not set up that process yet, follow the guide to backing up WordPress and testing a restore. Return to the theme tutorial once you have checked the backup.
Only the bold phrase would become a link.
The paragraph still explains why the link matters. It also tells readers when to return.
Avoid turning every related phrase into a separate link. If one short paragraph points to five other articles, the reader has to make several decisions before understanding the current instruction.
There is no reason to choose a link count before reading the article. Add links where they solve a specific problem, then review whether they interrupt the explanation.
Do not use links to avoid answering the article’s main question. The current page should still deliver the outcome promised by its title.
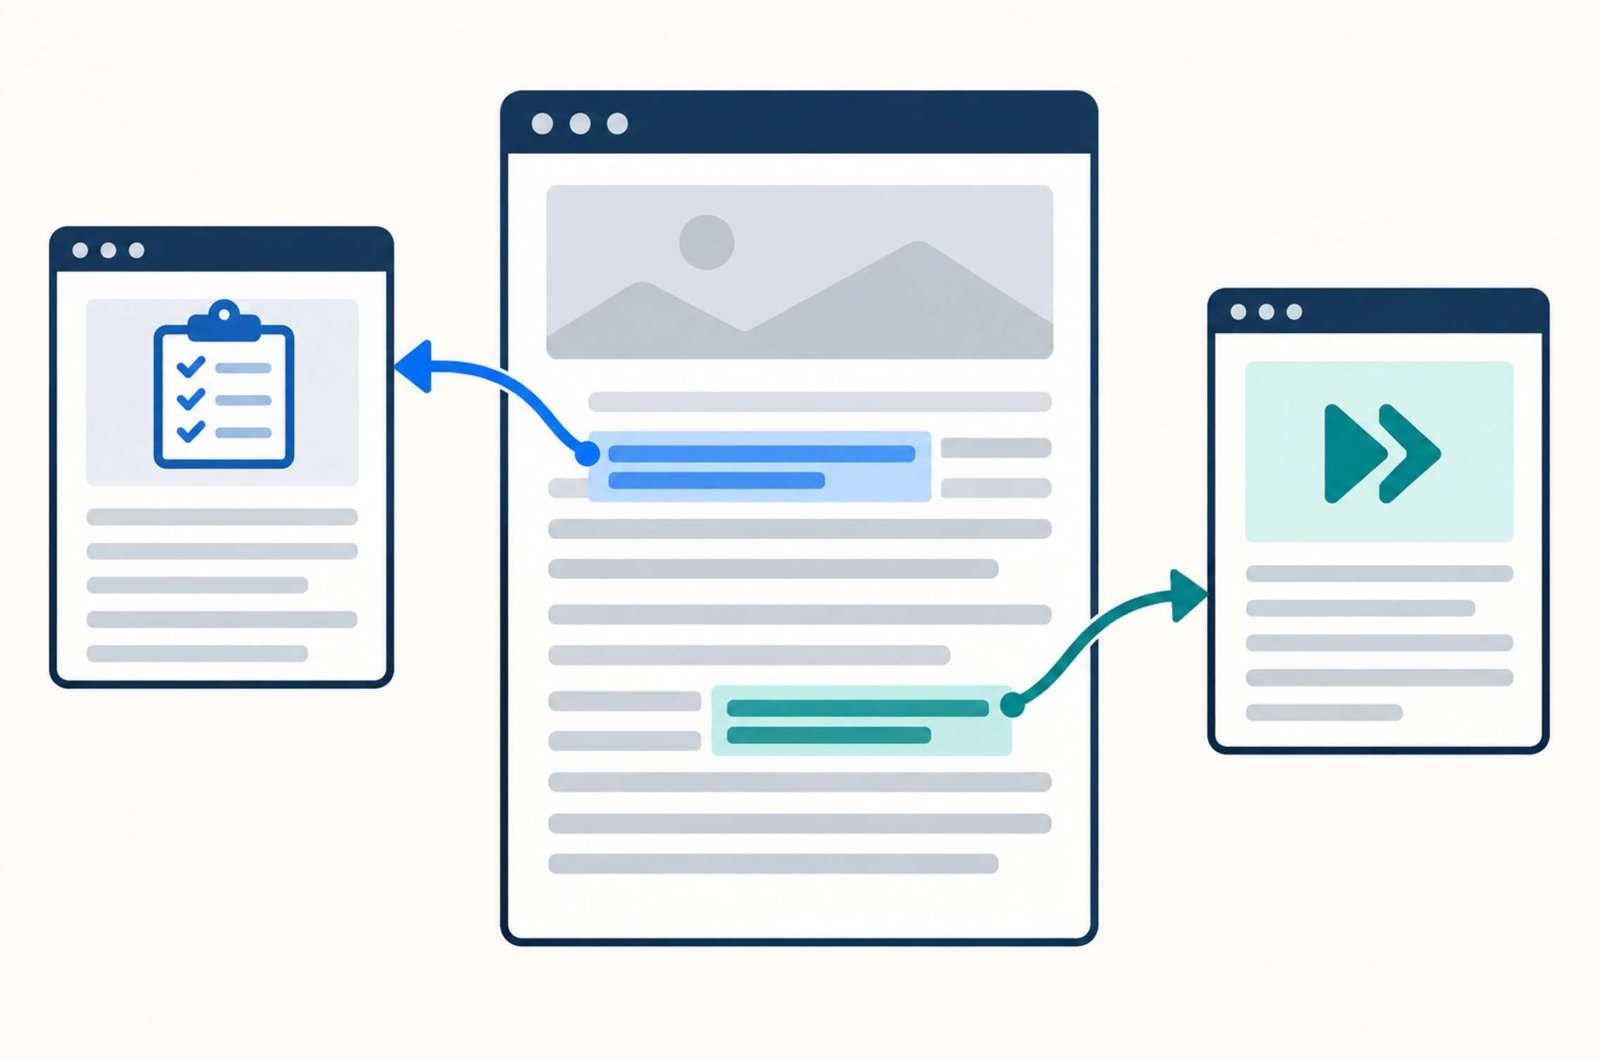
6. Keep Normal Article Links in the Same Tab
For ordinary movement between articles, opening links in the same tab is a practical default. Readers can use the browser’s Back button or choose to open a new tab themselves.
In WordPress’s link settings, leave Open in new tab disabled for this behavior.
The W3C advises limiting forced new windows and tabs because they can disorient some users. It also recognizes situations where a new window can help preserve an ongoing task, such as filling out a form. See its guidance on new windows and tabs.
Treat this as a usability decision.
If you have a specific reason to open a resource separately, make that behavior clear. Do not enable new tabs for every internal link simply to keep the original page open.
7. Add a Small Related-Reading Section When It Helps
Some links fit naturally into a paragraph. Others are useful after the main task is complete.
For those, create a short related-reading section near the end of the article.
In the block editor:
- Add a Heading block with a useful label, such as “What to Read Next.”
- Add a List block.
- Write the titles or descriptive labels of the selected articles.
- Link each item to its published destination.
- Add a brief explanation when the reason for the recommendation is not obvious.
You can insert a List block by typing /list. WordPress documents it in the List block guide.
For a tutorial about preparing images, a sample section might recommend:
- Compare AI image generators — choose a tool for creating the original visual.
- Create a Pinterest Pin for a blog post — adapt the finished image for promotion.
Two recommendations are enough for this example because they serve distinct next steps. That is an editorial choice, not a universal limit.
Avoid adding the same unrelated list to every article. Readers should be able to understand why each recommendation appears on that particular page.
Also distinguish “related” from “recent.” The newest article is not always the most useful continuation.
8. Connect Older Articles to New Ones
Adding links only while writing new posts leaves older content unchanged.
After publishing a useful new guide, review a few older articles that discuss the same task or mention its prerequisites.
For example, a new backup tutorial may be helpful to readers of existing articles about theme changes, plugin updates, or site migration.
Open each candidate and look for a natural place to introduce the resource.
Do not add a sentence merely to announce that another article exists. Explain what it helps the reader do.
A useful addition could be:
Before making these changes, follow the backup and recovery checklist so you have a verified recovery point.
The link belongs only if the destination actually provides that checklist.
Google recommends that important pages have a link from at least one other page on the site. It explains that contextual internal links help readers and search engines discover related content in its internal linking guidance.
You do not need every article to link to every other article. Build a few clear paths around real reader needs.
9. Test Links as a Visitor
A link appearing in the editor does not prove that its destination works.
WordPress checks whether an address has a valid format, but it does not confirm that the page exists or loads successfully. This distinction is noted in the Link control documentation.
After saving, open the public post in a private browser window where you are not logged into WordPress.
Follow each new link and check:
| Check | What to confirm |
|---|---|
| Destination | The intended article opens |
| Access | No administrator login or special permission is required |
| Relevance | The destination answers the question suggested by the link |
| Wording | The linked phrase accurately describes the page |
| Appearance | The link is recognizable within the paragraph |
| Mobile use | The text is readable and the link is practical to tap |
Read the destination’s title and introduction rather than stopping as soon as a page loads.
A link can technically work while leading to the wrong guide.
Also try moving through the page with the keyboard. Check that links can receive focus and that the focused link is visible.
If a link behaves unexpectedly, return to the editor, inspect the address, correct it, and test again.
10. Keep the Links Useful as the Site Changes
Internal linking needs occasional maintenance because content changes.
An article may move to a new address, become outdated, or be replaced by a more complete guide. The link can remain in an older post long after its context stops making sense.
Keep a simple record of important connections:
| Source article | Destination | Reason for the link | Last checked |
|---|---|---|---|
| Theme tutorial | Backup guide | Prerequisite before changes | Date |
| Image tutorial | Image-generator guide | Helps prepare the original visual | Date |
| Promotion guide | Traffic-tracking guide | Explains how to review visits | Date |
Use this record when updating articles.
If a destination URL changes, update the links you control and verify how the old address behaves. Do not change site-wide permalink settings merely to add an internal link.
When deleting a destination, replace its links with a genuinely relevant resource or remove the link and revise the surrounding sentence. Sending every broken link to the homepage rarely answers the original question.
For a first pass, choose one published article, add the most useful contextual links, and test them while logged out. Then review an older article that could help readers discover it. This creates a manageable habit as the blog grows.